

Course Information
Fauquier Springs par 71, 18-hole layout can play to 6,303 yards from the blue tees; 5,934 from the white tees; and 5,165 yards from the red tees. Depending on your skill level, pick the tees that suit your game.
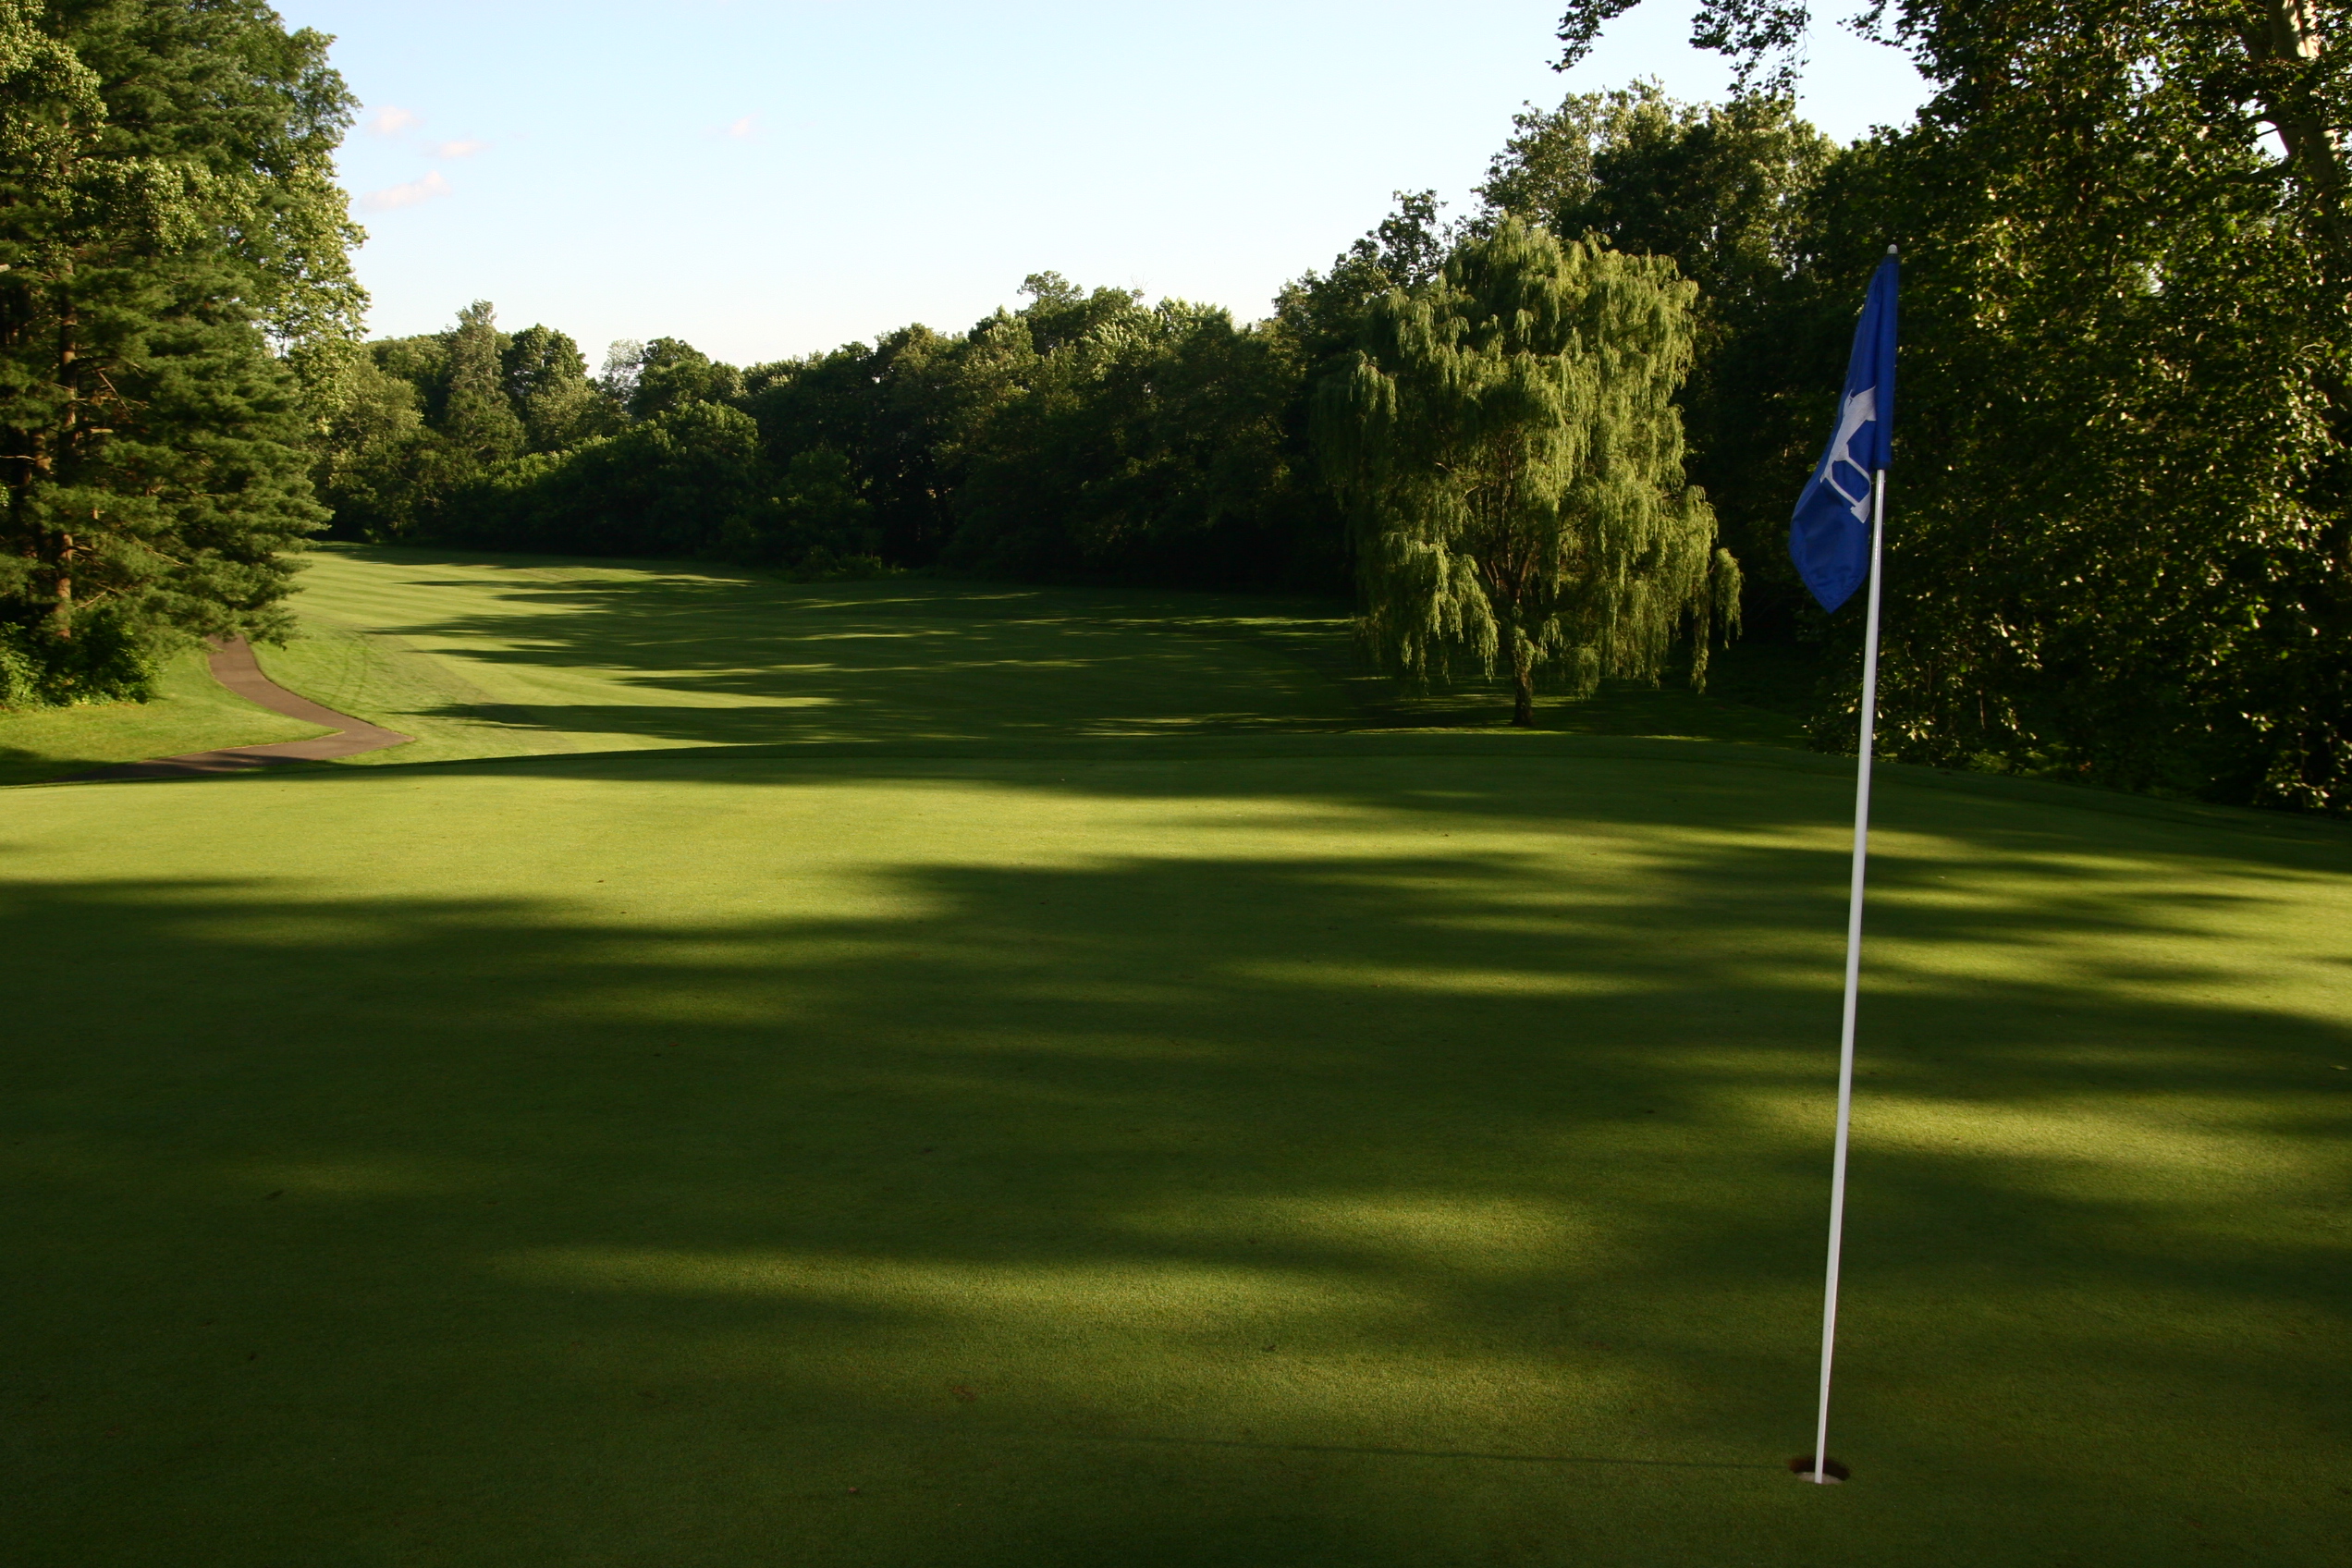
Views of the Rappahannock River, Barrows Run and the Blue Ridge Mountains complement our course. Rolling hills, tree-lined fairways and contoured greens create a challenging yet fun golf experience for golfers of all levels.
Golf Course
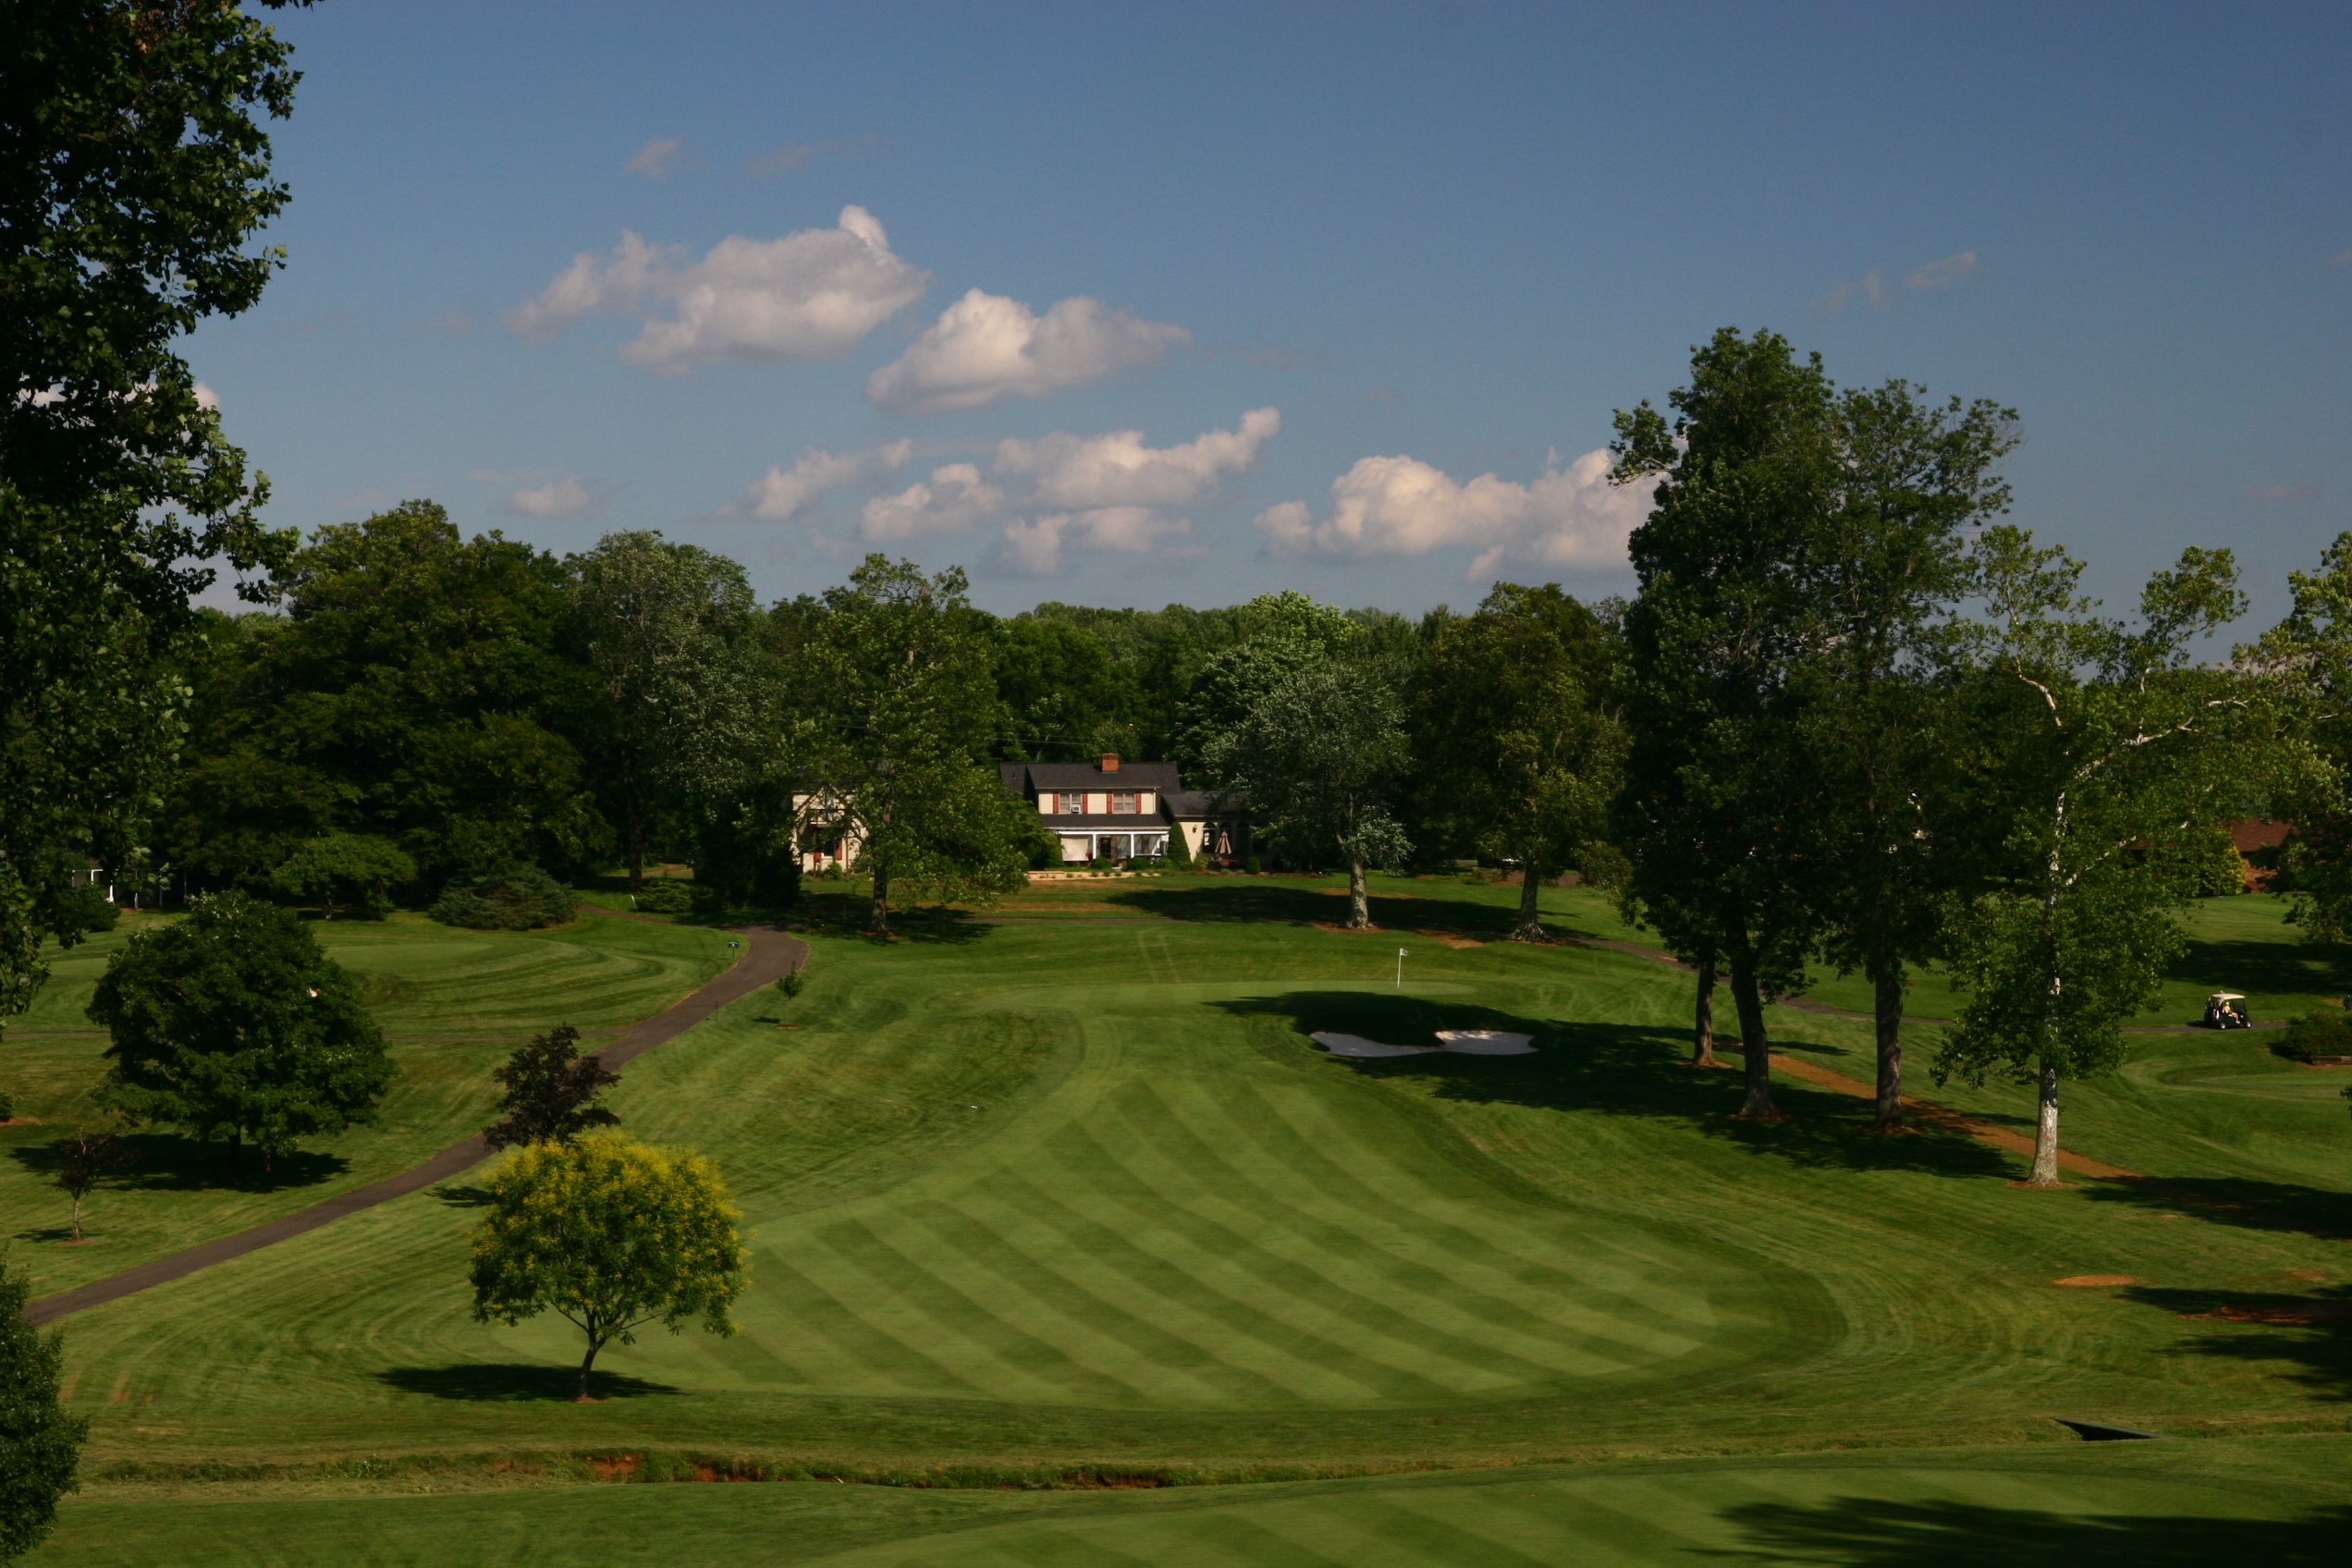
Hole 1
A perfect start to the day! Be sure to carry your drive long enough to clear Barrows Run which runs across the fairway towards the historic gazebo foundation. The elevated green pitches away from front to back but offers a chance to start your round with a birdie.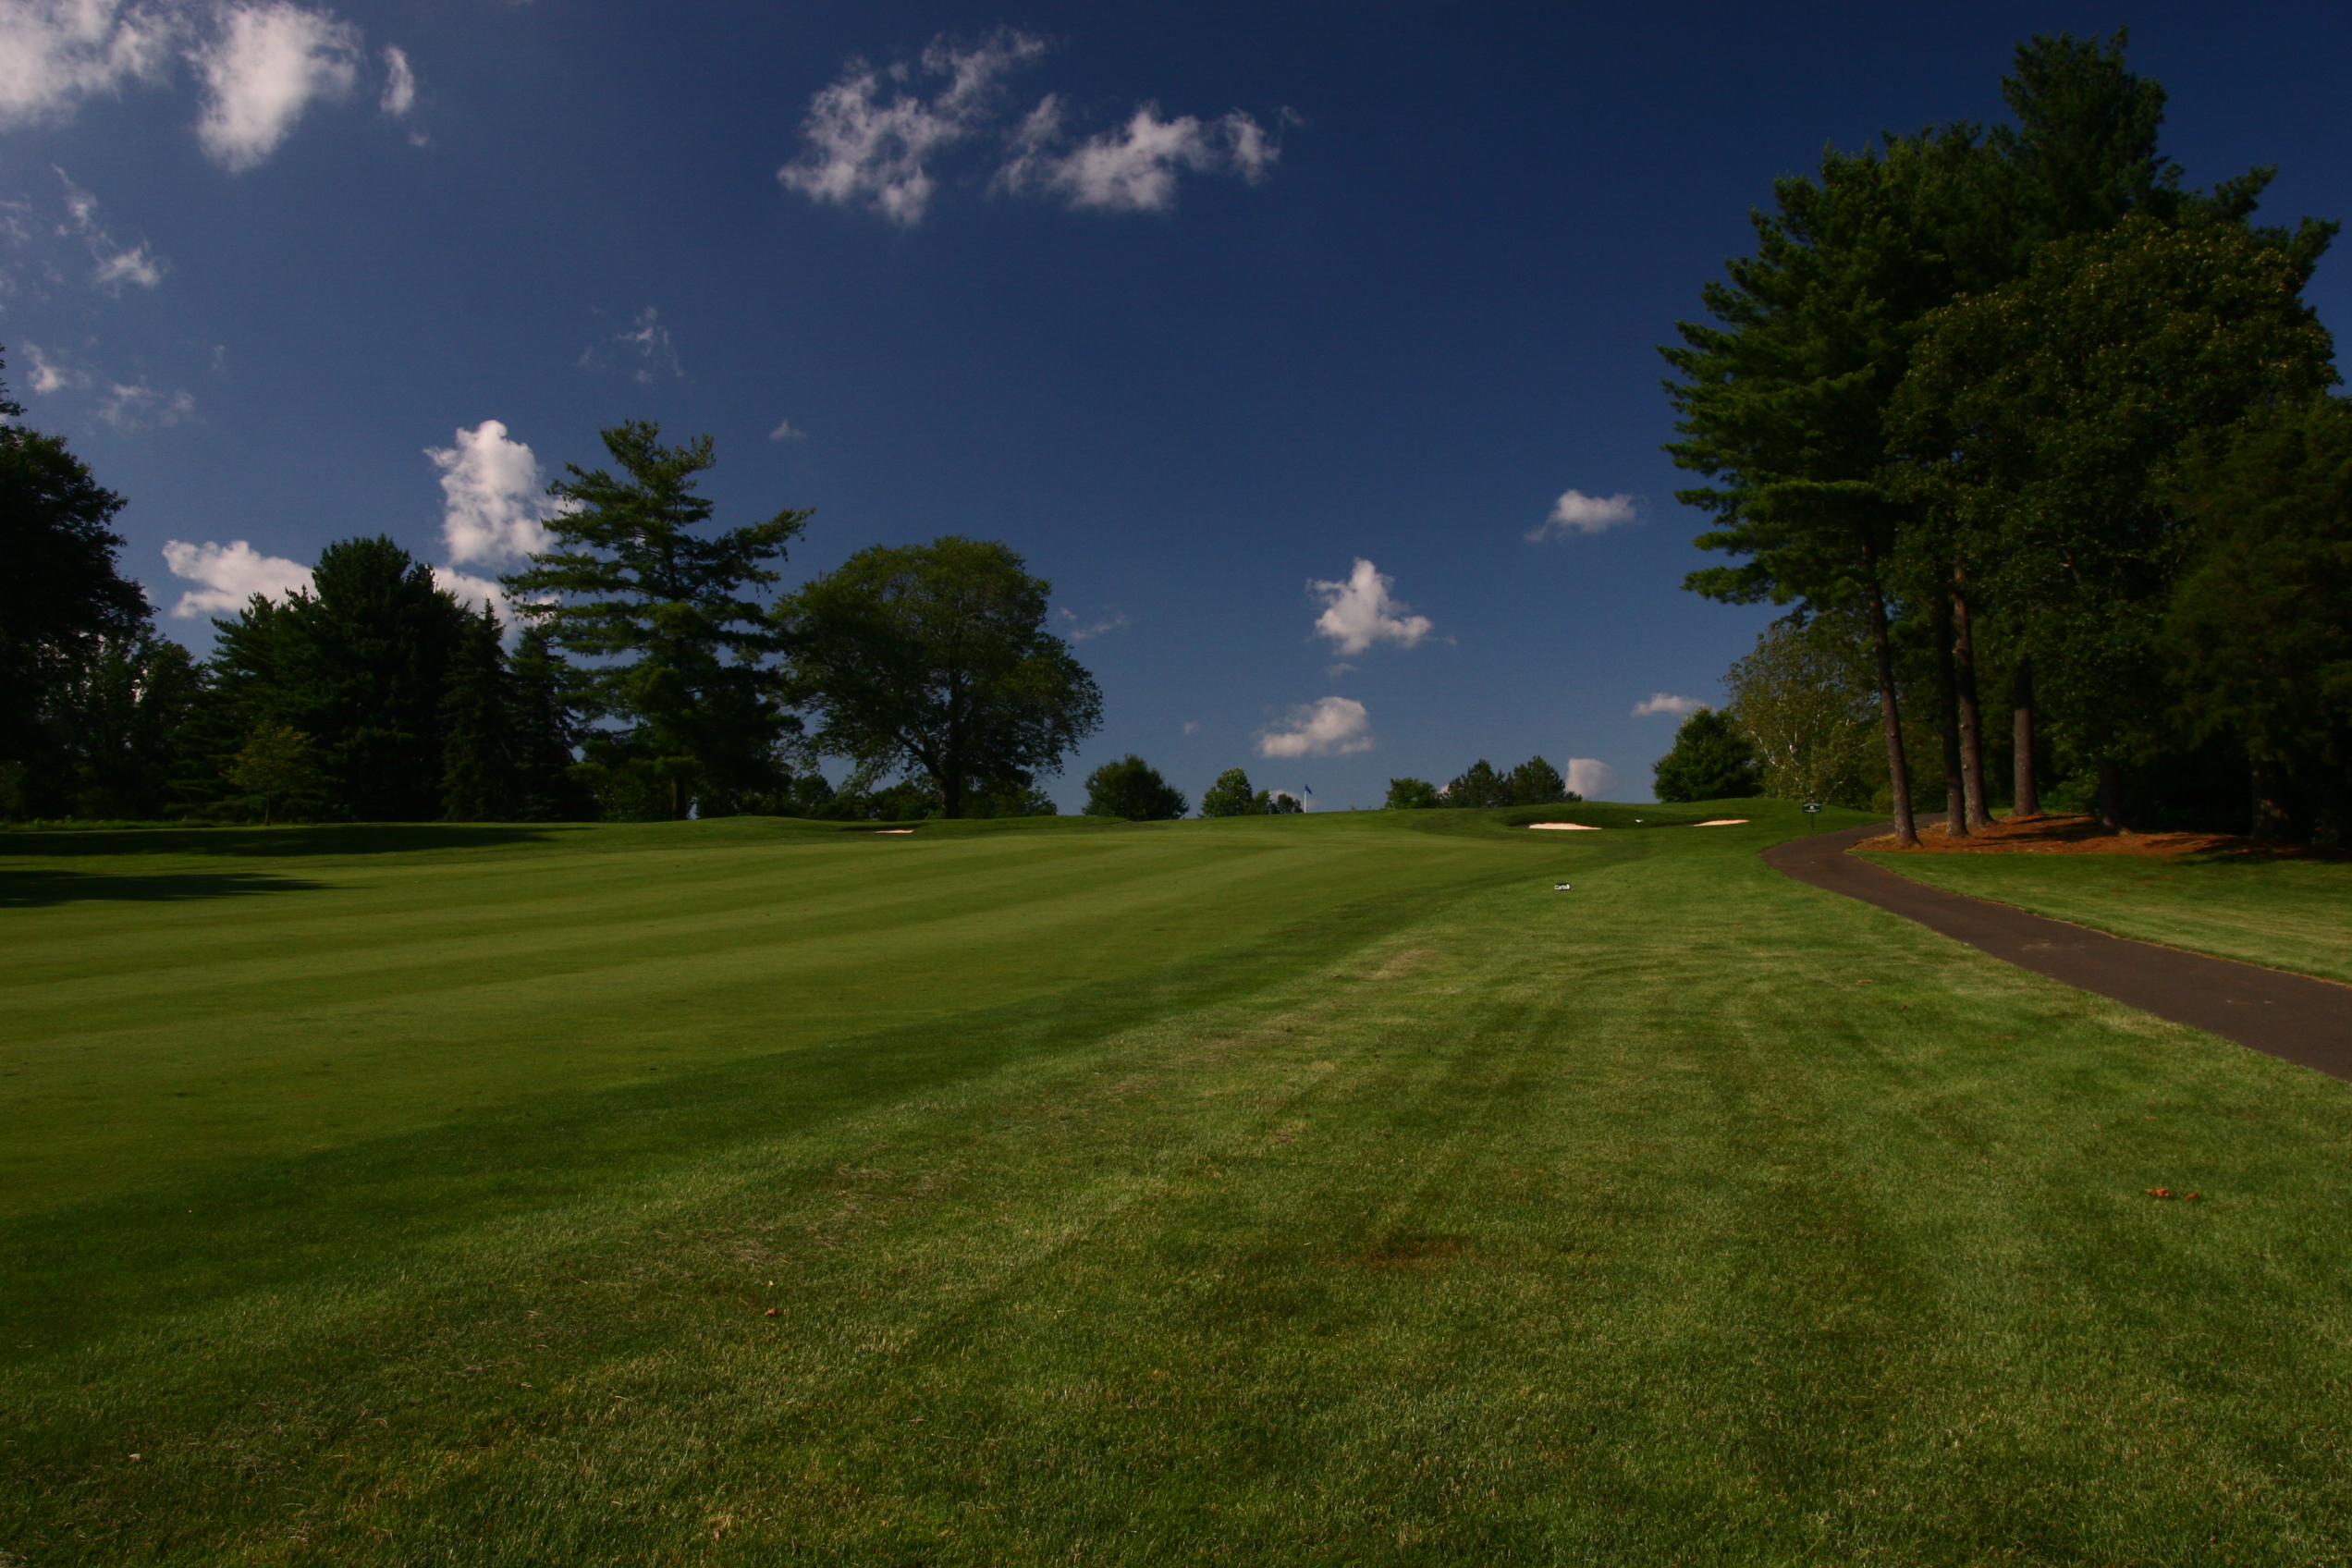
Hole 2
After coming off of One, you’re met with a welcoming par 5 giving a chance for another score under par to get your round started. Be sure to keep the ball left of center as out-of-bounds looms along the entire right side. The gentle slope of the fairway climbs the hill to a well-protected front for this small green with gentle contours. Get your birdie now before you round the corner.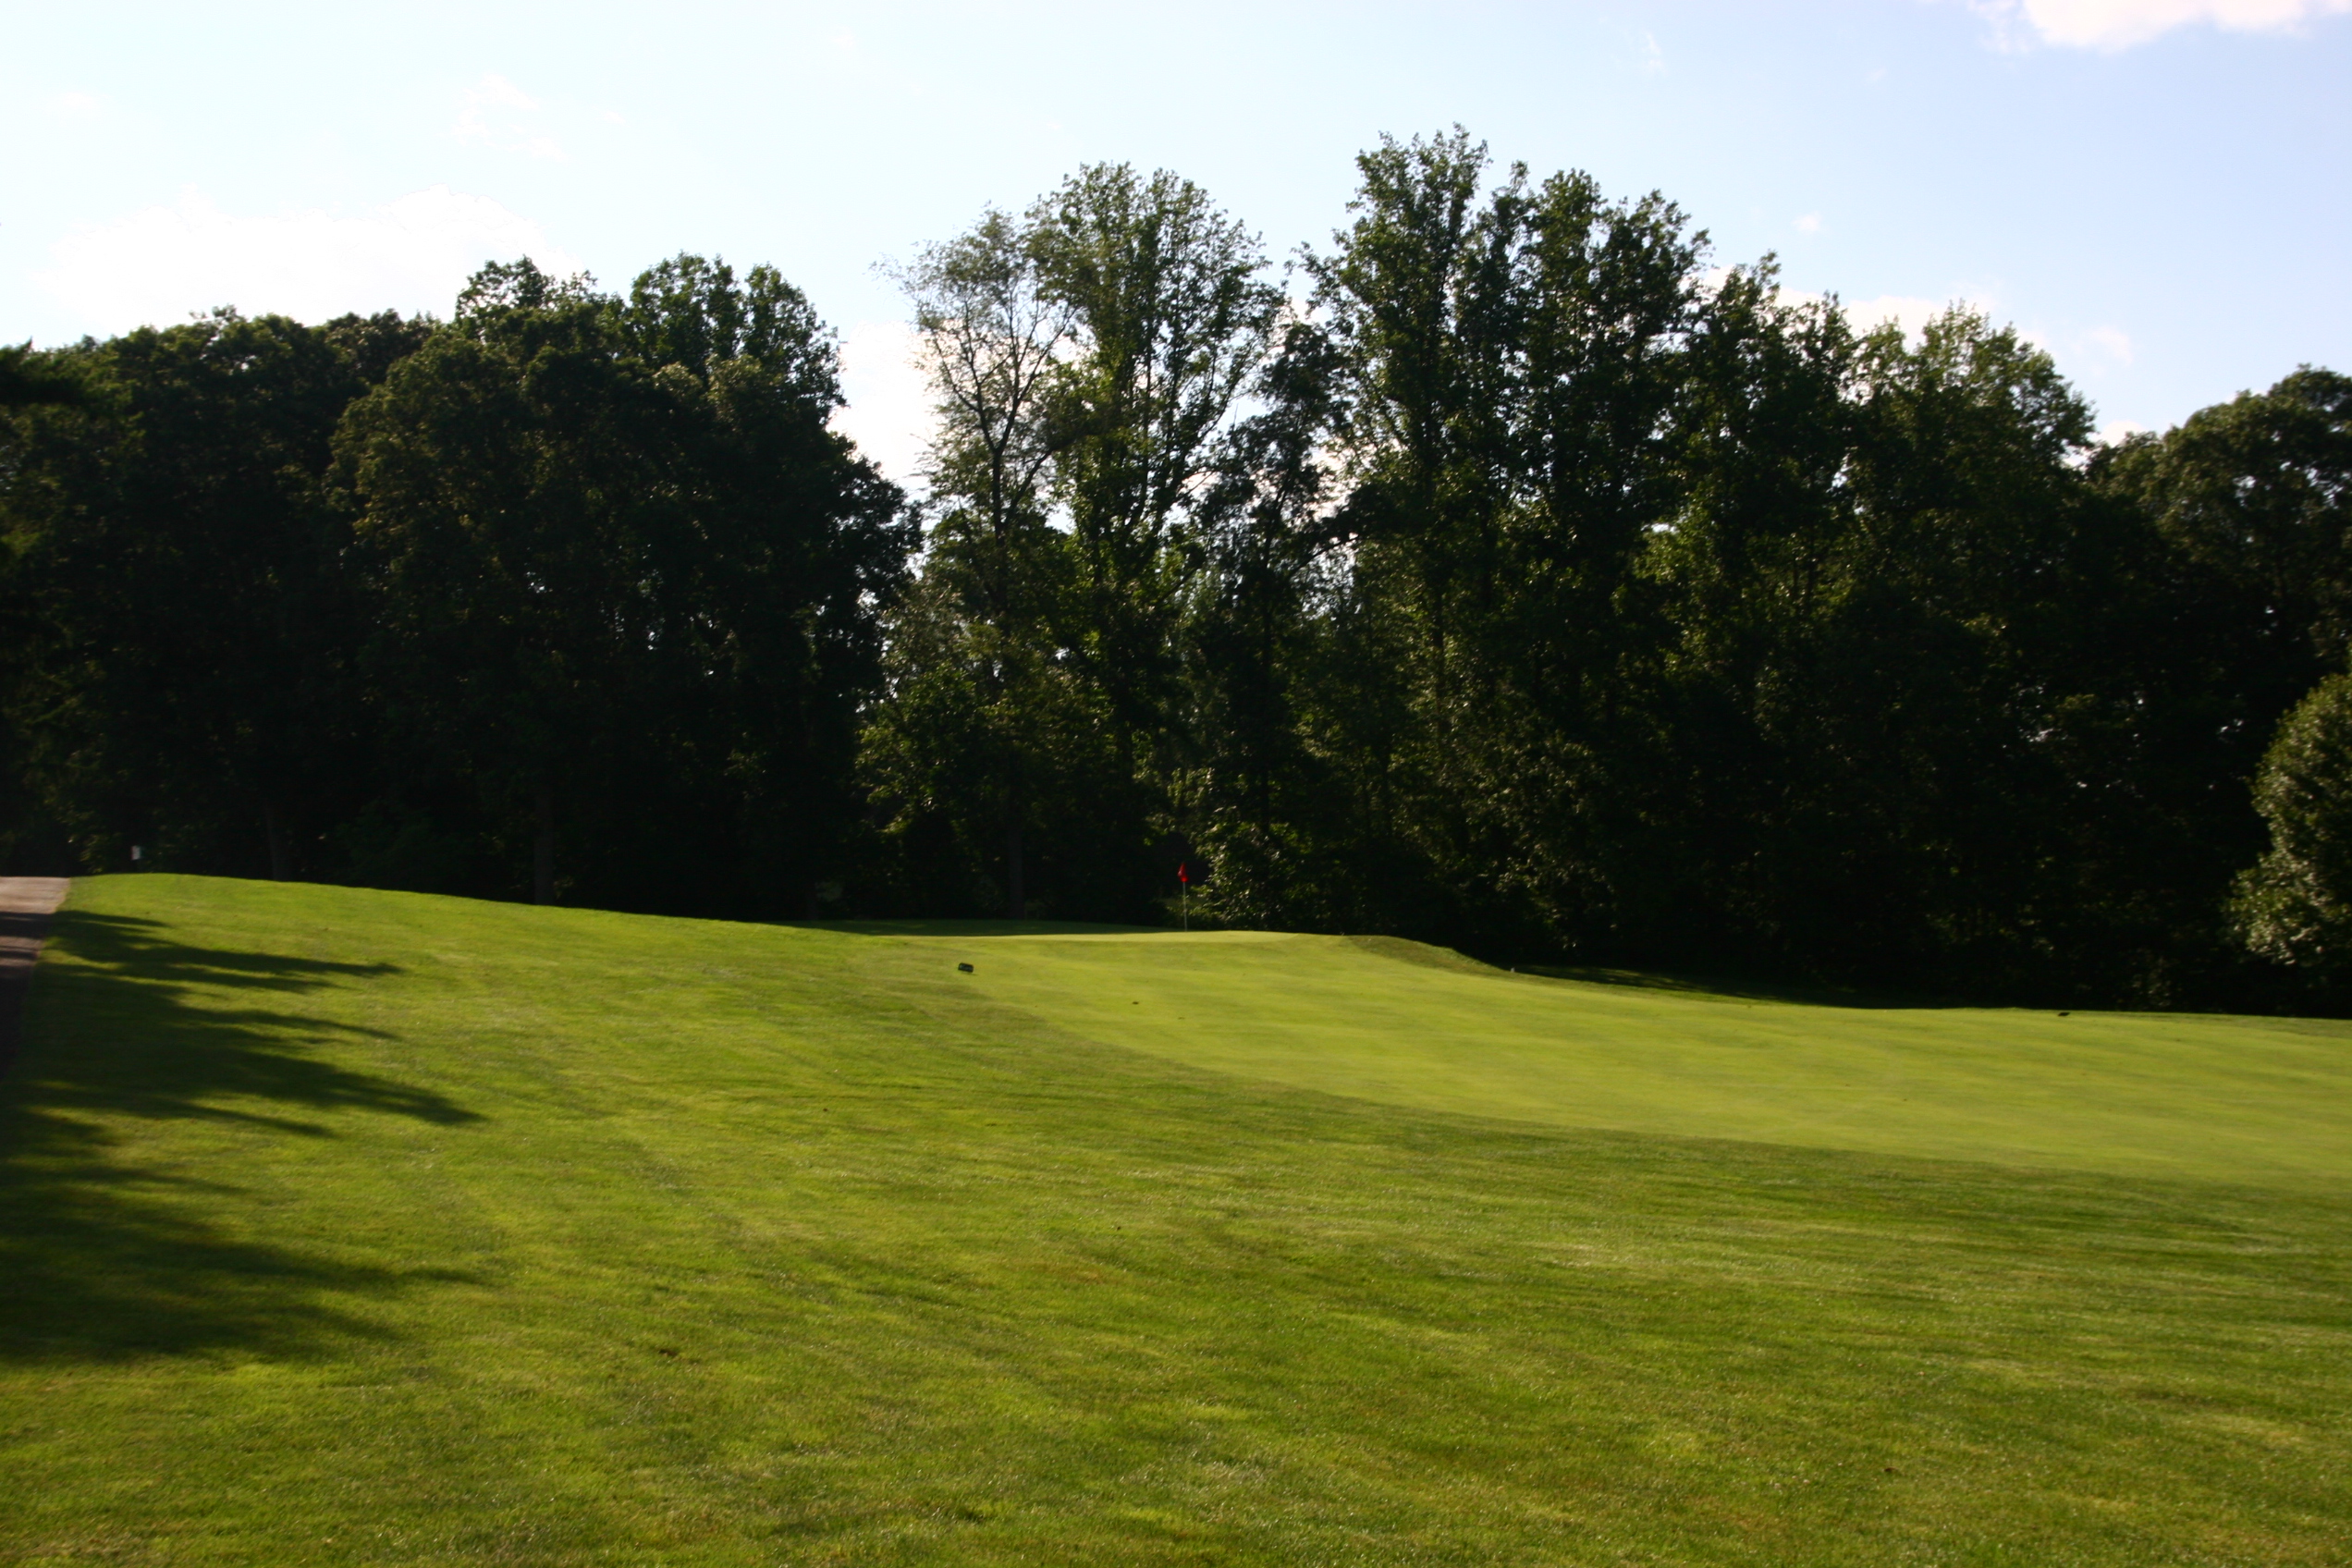
Hole 3
The first of five par 3’s. With two tee box options, the view of this downhill par 3 can change drastically depending on where the tee is that day. It’s not too long of a hole but accuracy is key as the swale left will make for a tricky up-and-down. The large bank on the right will kick your shot a good 20 yards right if you do not land it on the green.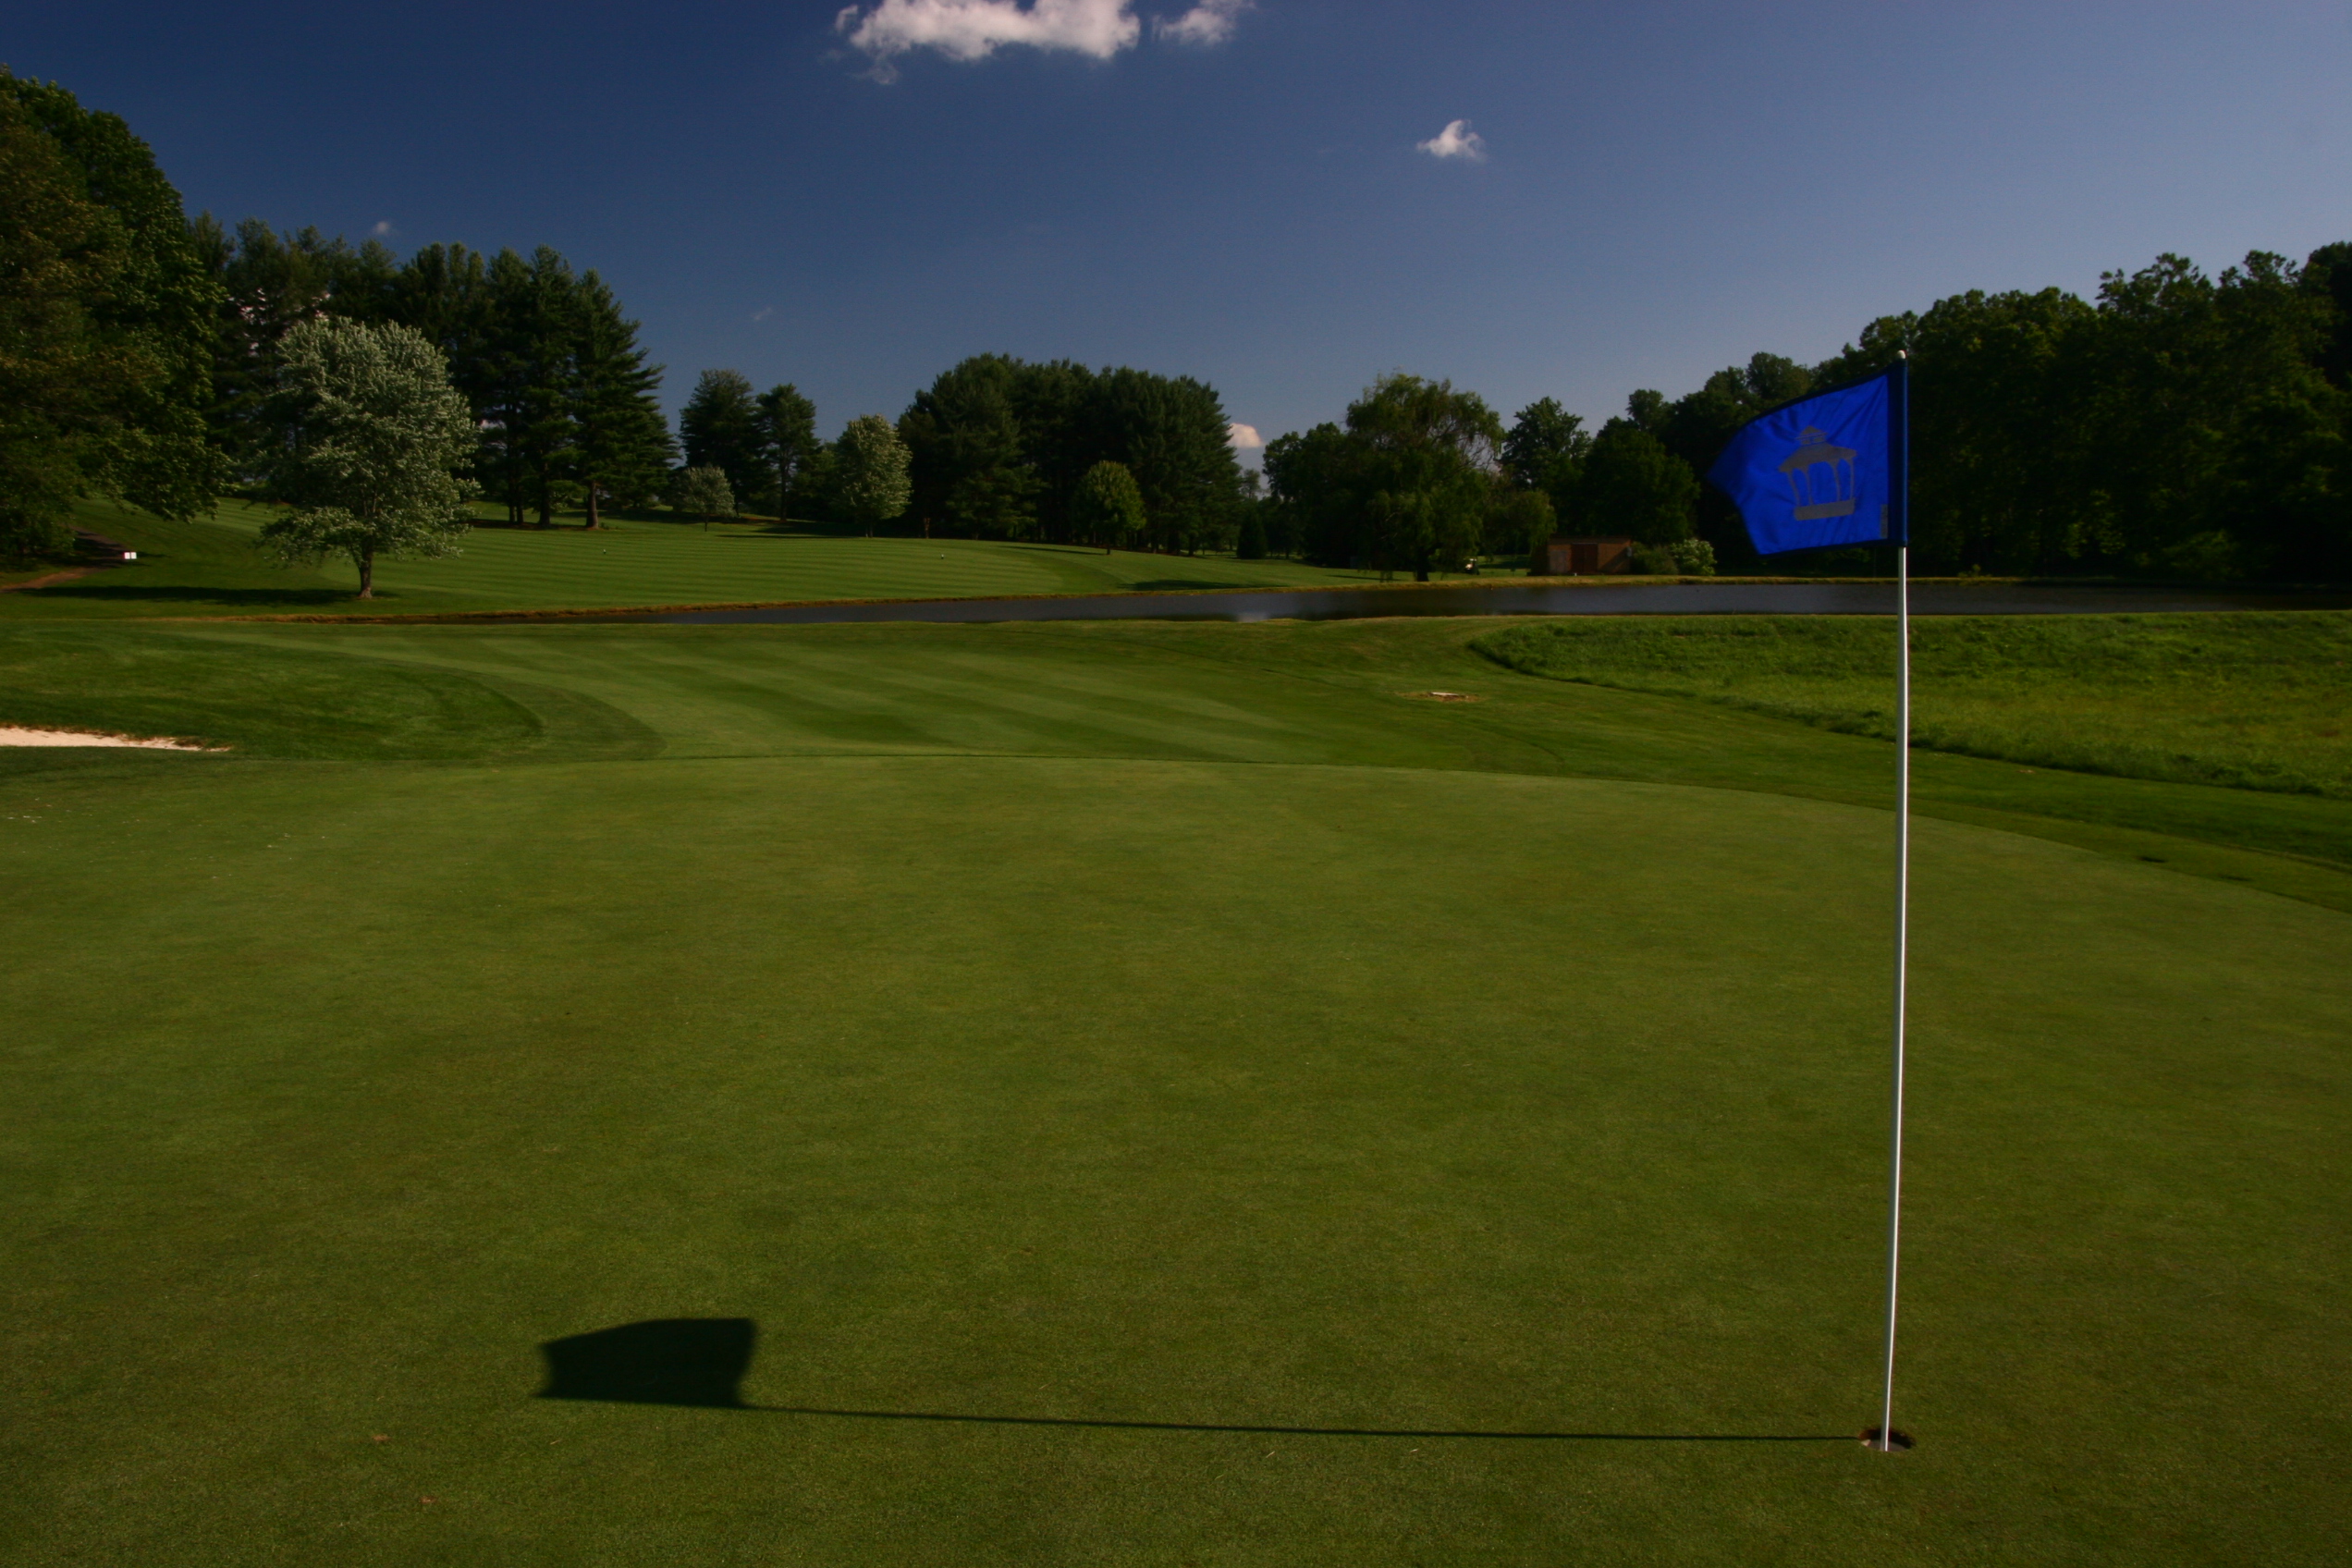
Hole 4
A true shot-makers golf hole. When standing high above a fairway that you can not see, picking out a target line in the forest is necessity as the large tree at the corner of the fairway can alter your route to the green. Players can use the birdhouse that sits far from the fairway but provides a great line to aim for. Tee shot must favor middle-right of the target to get to the flattest lie in the fairway and to have a clear view of the green. Once in the fairway, be sure to play your yardage accordingly as the green sits slightly below your feet and long shots will find the collection area long of this green. Par here is always good.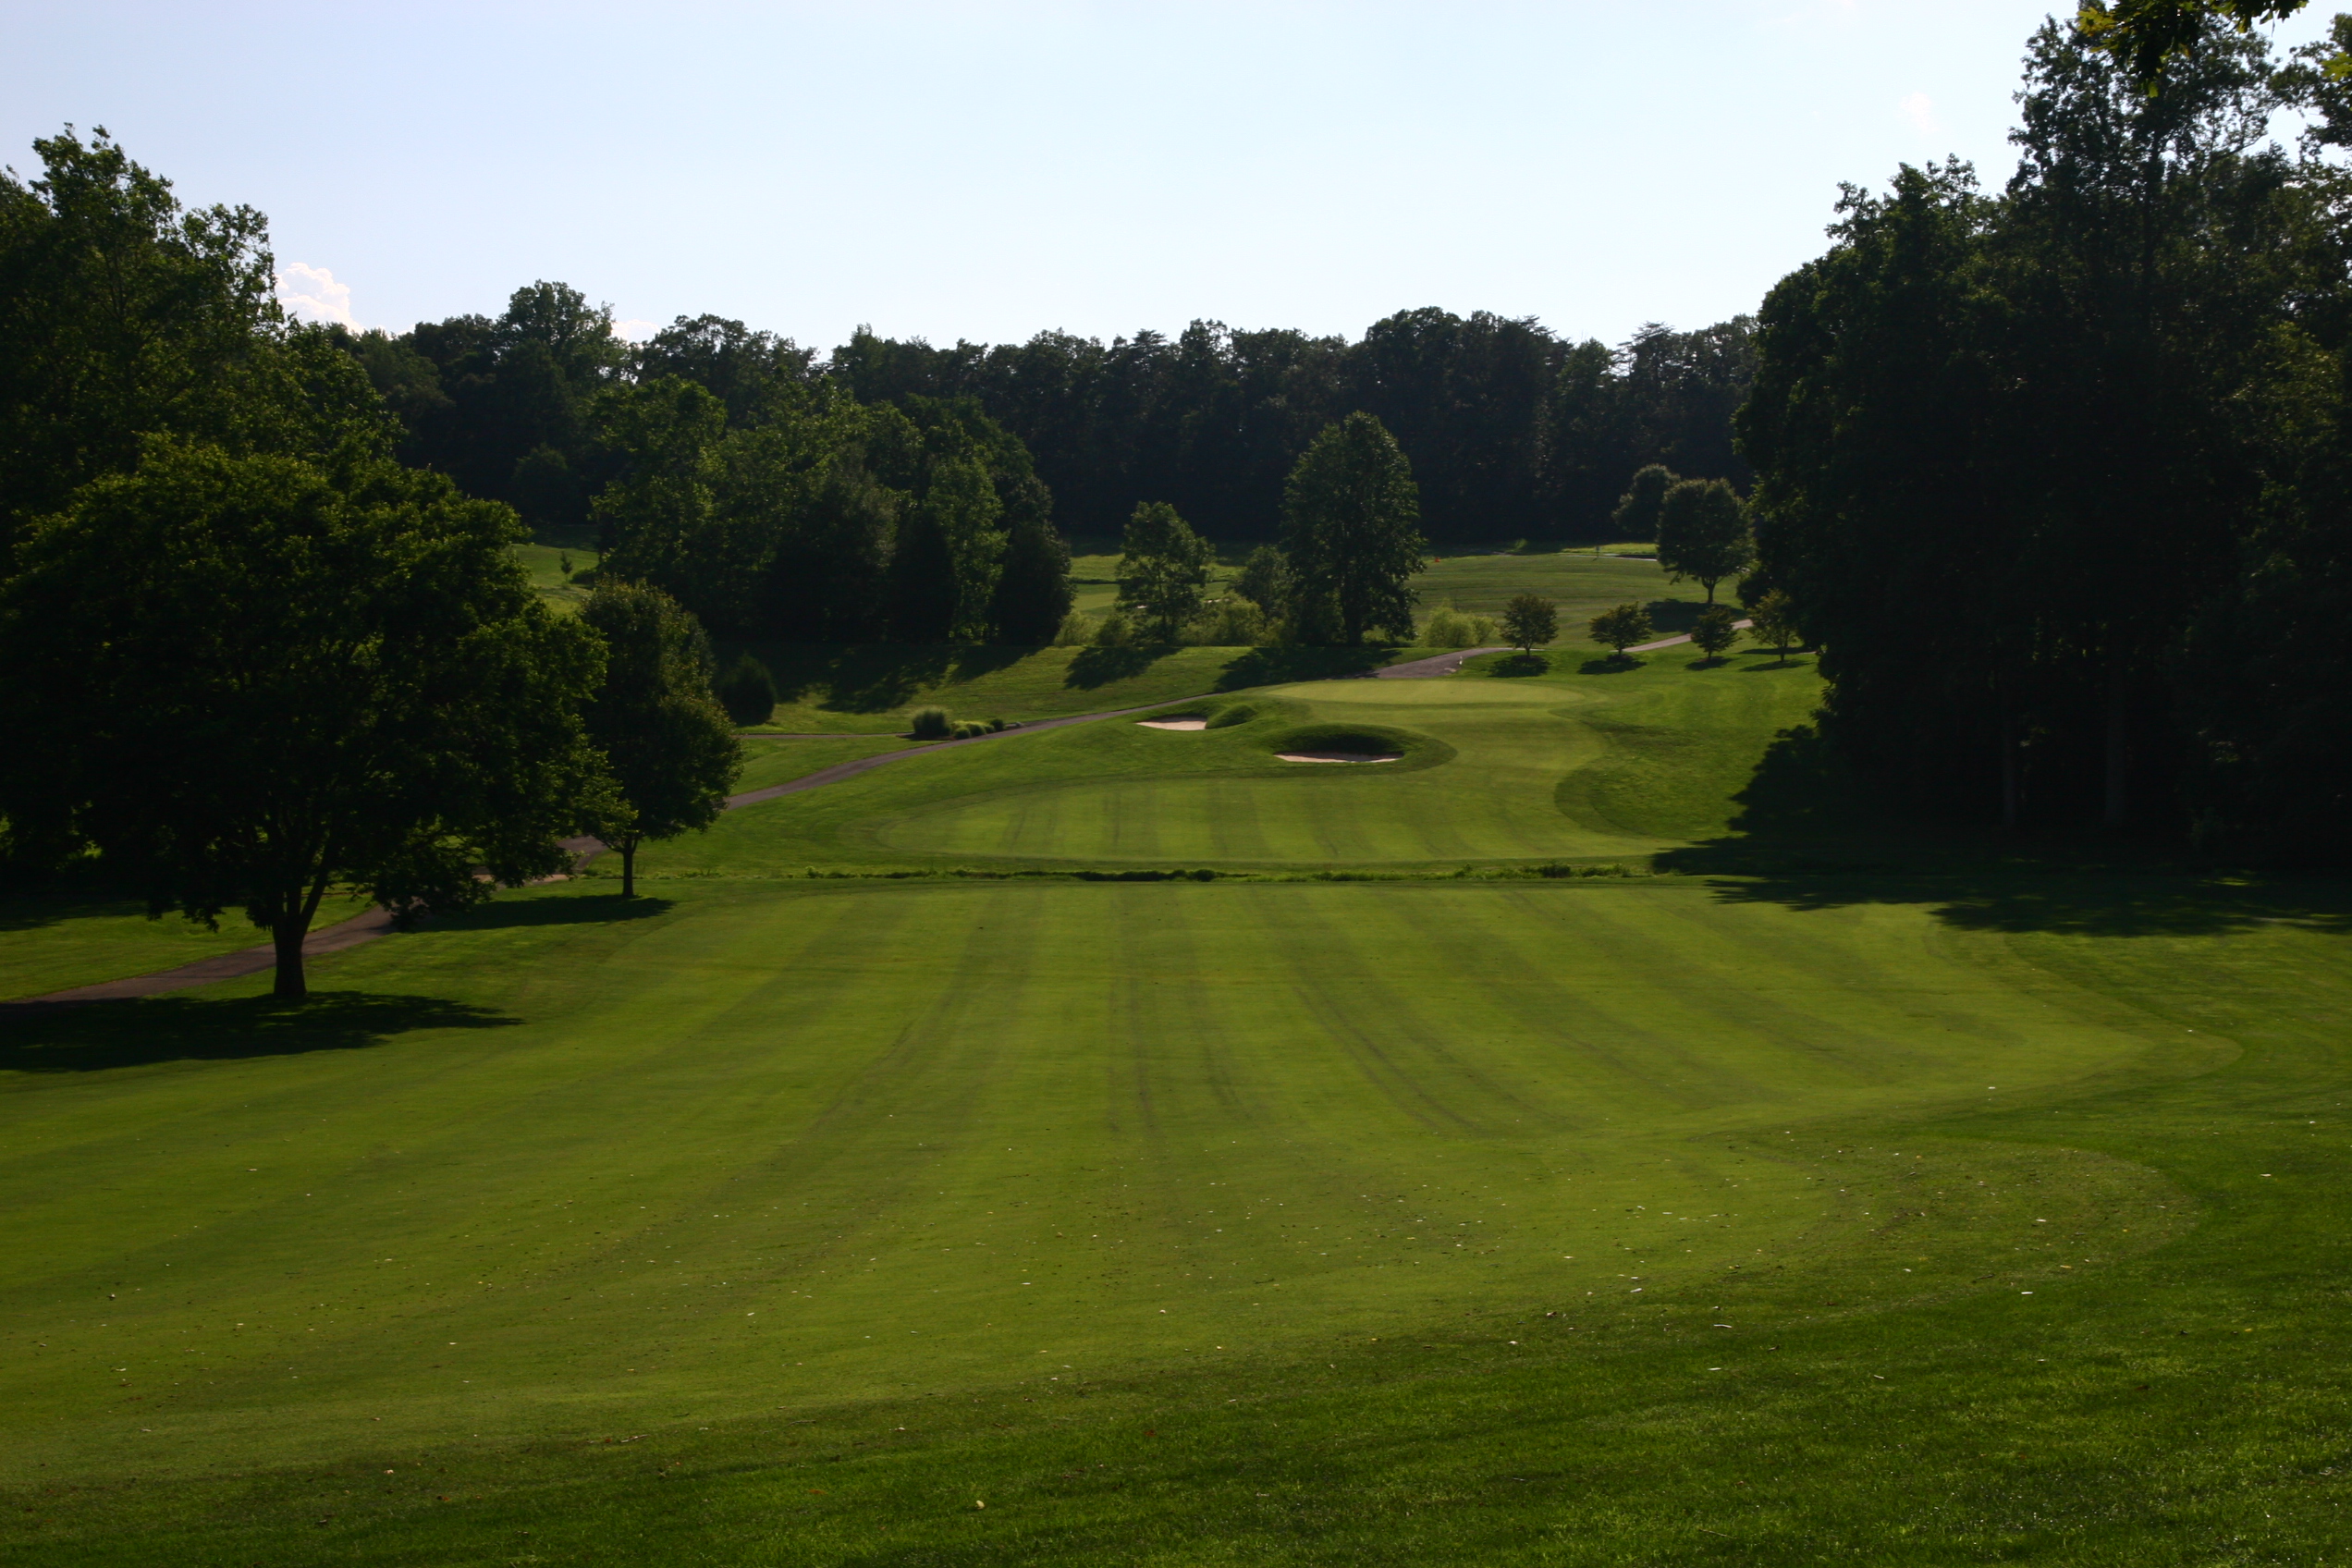
Hole 5
Back to back tests? Yes, indeed. Depending on tee placement, tee shots that carry 220-175 will get you to the flat area before running into Barrows Run that runs across the fairway. From here the super slick, elevated green looms with large bunkers right and another back right. Goal here is to get under the pin so you’re left with an uphill putt as being above the hole brings danger of putting off the front of the green. Par here is always good.
Hole 6
This uphill par 3 is one of the biggest greens on the entire course and requires proper club choice to carry the false fronted green. Any shots not carrying the first 8 yards of the green will be collected by the front edge. For wayward shots, there are bunkers guarding both sides of the green. Getting the read right on this green is something to cherish.
Hole 7
This hole “can travel” to any course in the country and would still be one of the best on the layout. A demanding hole from start to finish with a tee shot that requires both distance and accuracy as the natural areas both left and right of the fairway make finding your ball nearly impossible. With a large drop-off starting at 200 yards out, getting to that point is imperative to get the distance needed to get to the green in regulation. The green then offers a two-tiered surface featuring a top shelf sitting back right which makes this hole fun to play over and over again. A small pond guards the entire left side of the green. Shots played to the middle of the green usually end up on the left side of this green. Take your par and move along!
Hole 8
This longish par 4 features the Rappahannock River along the entire right side of the fairway. Longer players may want to pull back to fairway wood or long iron off the tee as the hole is overall straight. Two large bunkers loom on either side of the green to catch any errant approach shots. The green features a gentle tiering that runs from front right back to the left, this changes the line of putt for most players.
Hole 9
A perfect par 3 to finish the day. With a tee bordering the Rappahannock River and the clubhouse as your backdrop, the view is one to enjoy. With a mid-iron in hand distance control is key for this up-hill shot to a well-guarded green. This hole gives you a good chance to finish the front nine with a birdie.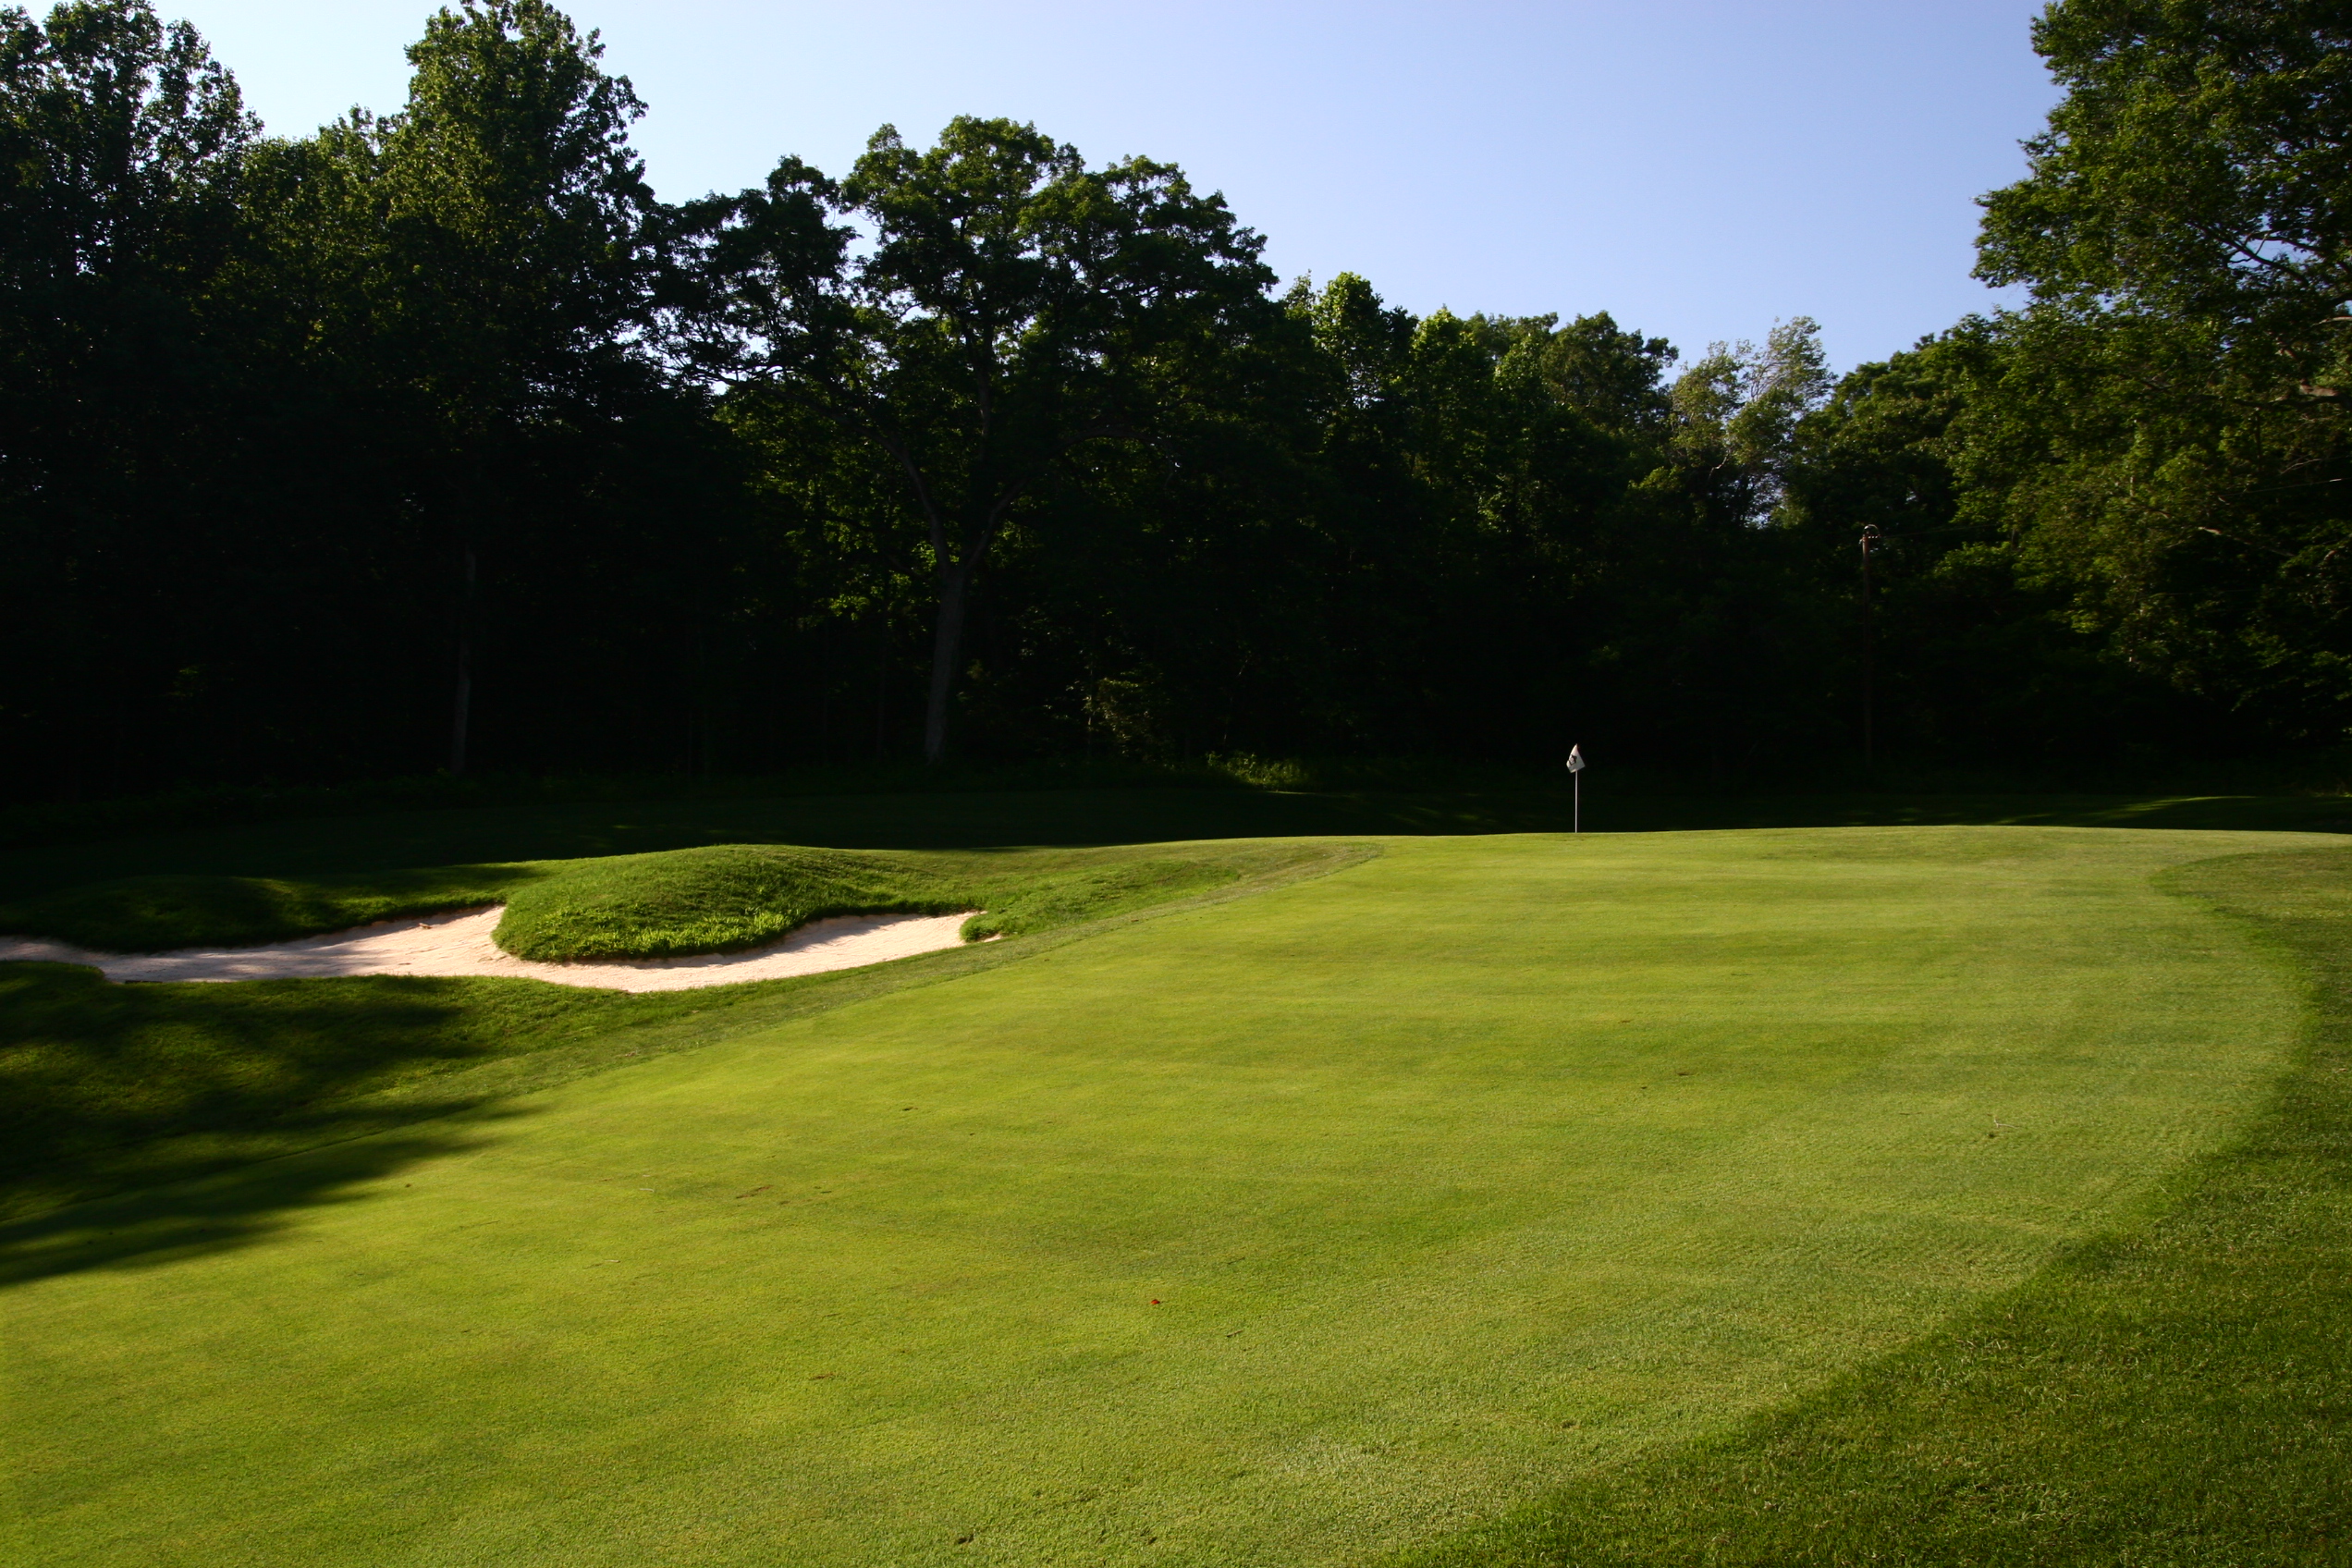
Hole 10
Let fun continue! The back nine at Fauquier Springs offers many make-or-break moments and number 10 is a perfect example. The elevated tee that sits right next to the clubhouse patio asks players to choose, distance or accuracy? Playing it short will give you the best lie on the flat area of the fairway, leaving you with a mid-iron to the elevated, well-contoured green. Going long off the tee is an option but it requires a left to right ball flight to get benefit from the choice. Natural waste area bordering the left side of the fairway. With just a short wedge it you hand you will be able to ensure that you can carry the large bunkers the guard the front of the green. Once on the green, the read can be very difficult, par here is never going to hurt.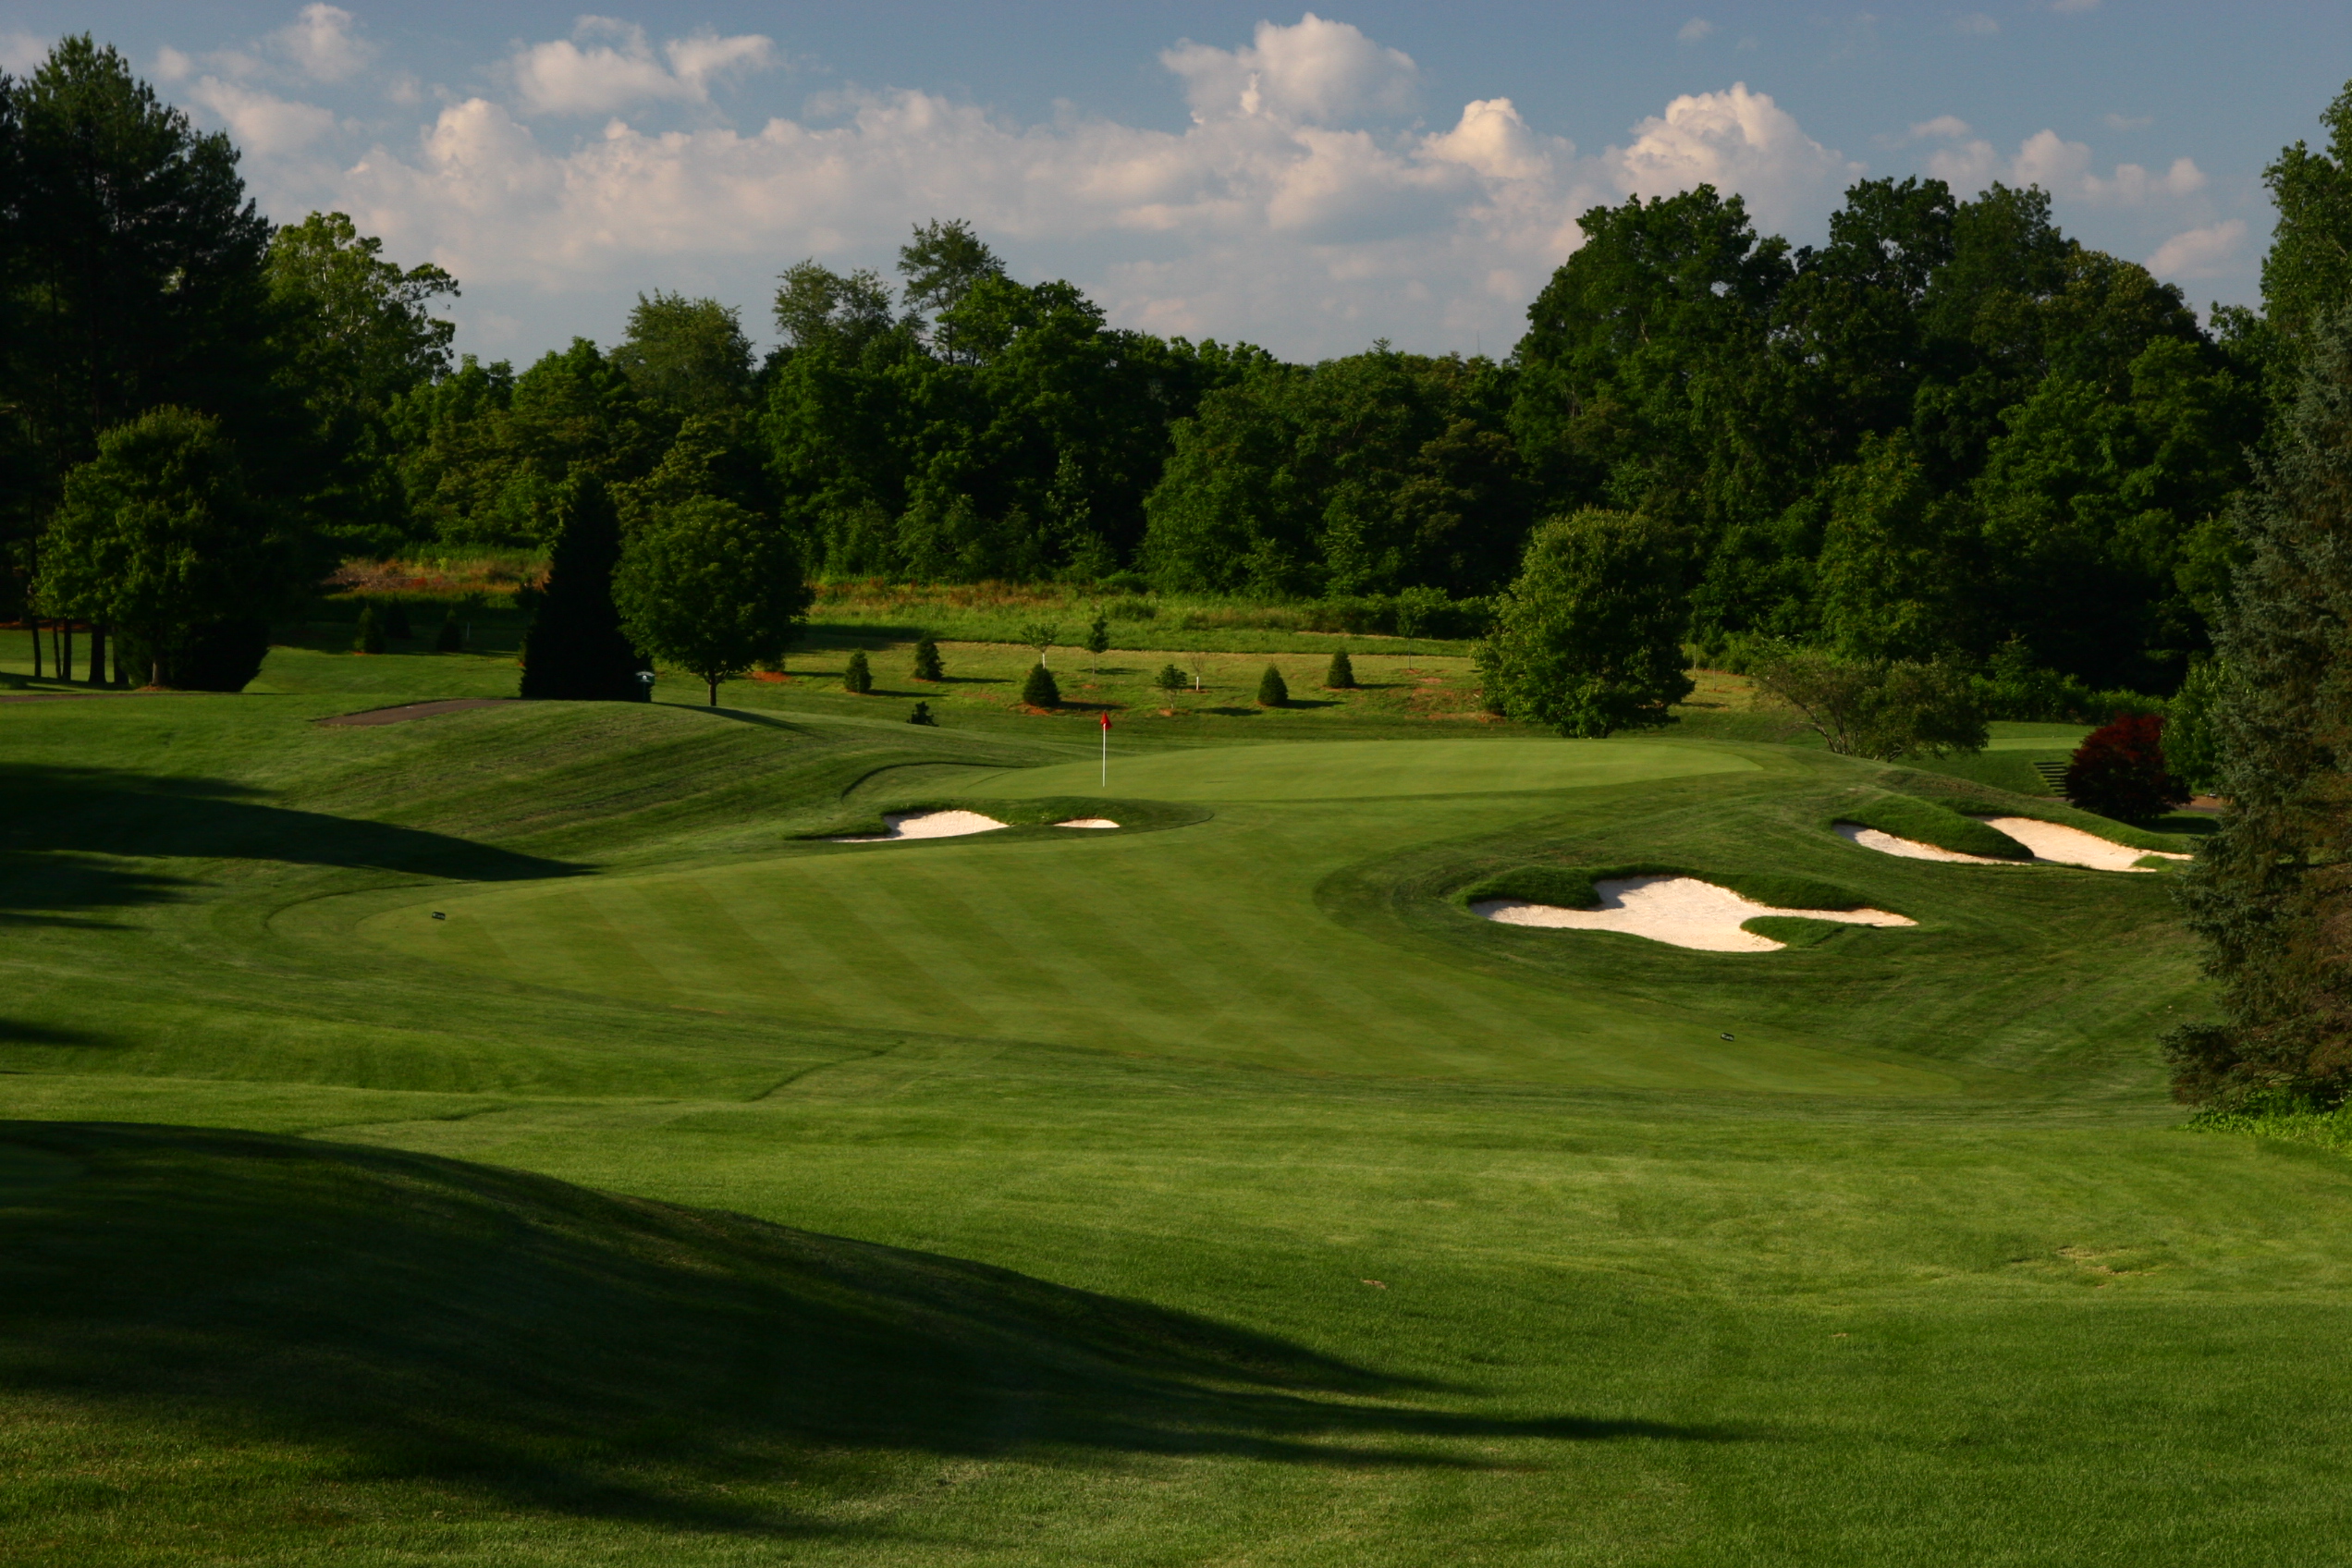
Hole 11
Another par 3 of the round and it’s one of the nicest views on the entire course. The elevated tee box overlooks the short-game practice facility and gives you a grand view of three other holes along with the pond that sits low right of the green. Club selection and wind play a major role in club choice for this shot. A large sod hill borders the left side of the green which can be used to push errant shots back towards the green. Be sure to miss left as the right side of the green is sloped toward the pond. Marked as the easiest hole on the course, it can show its teeth quickly if you’re not on the green in one.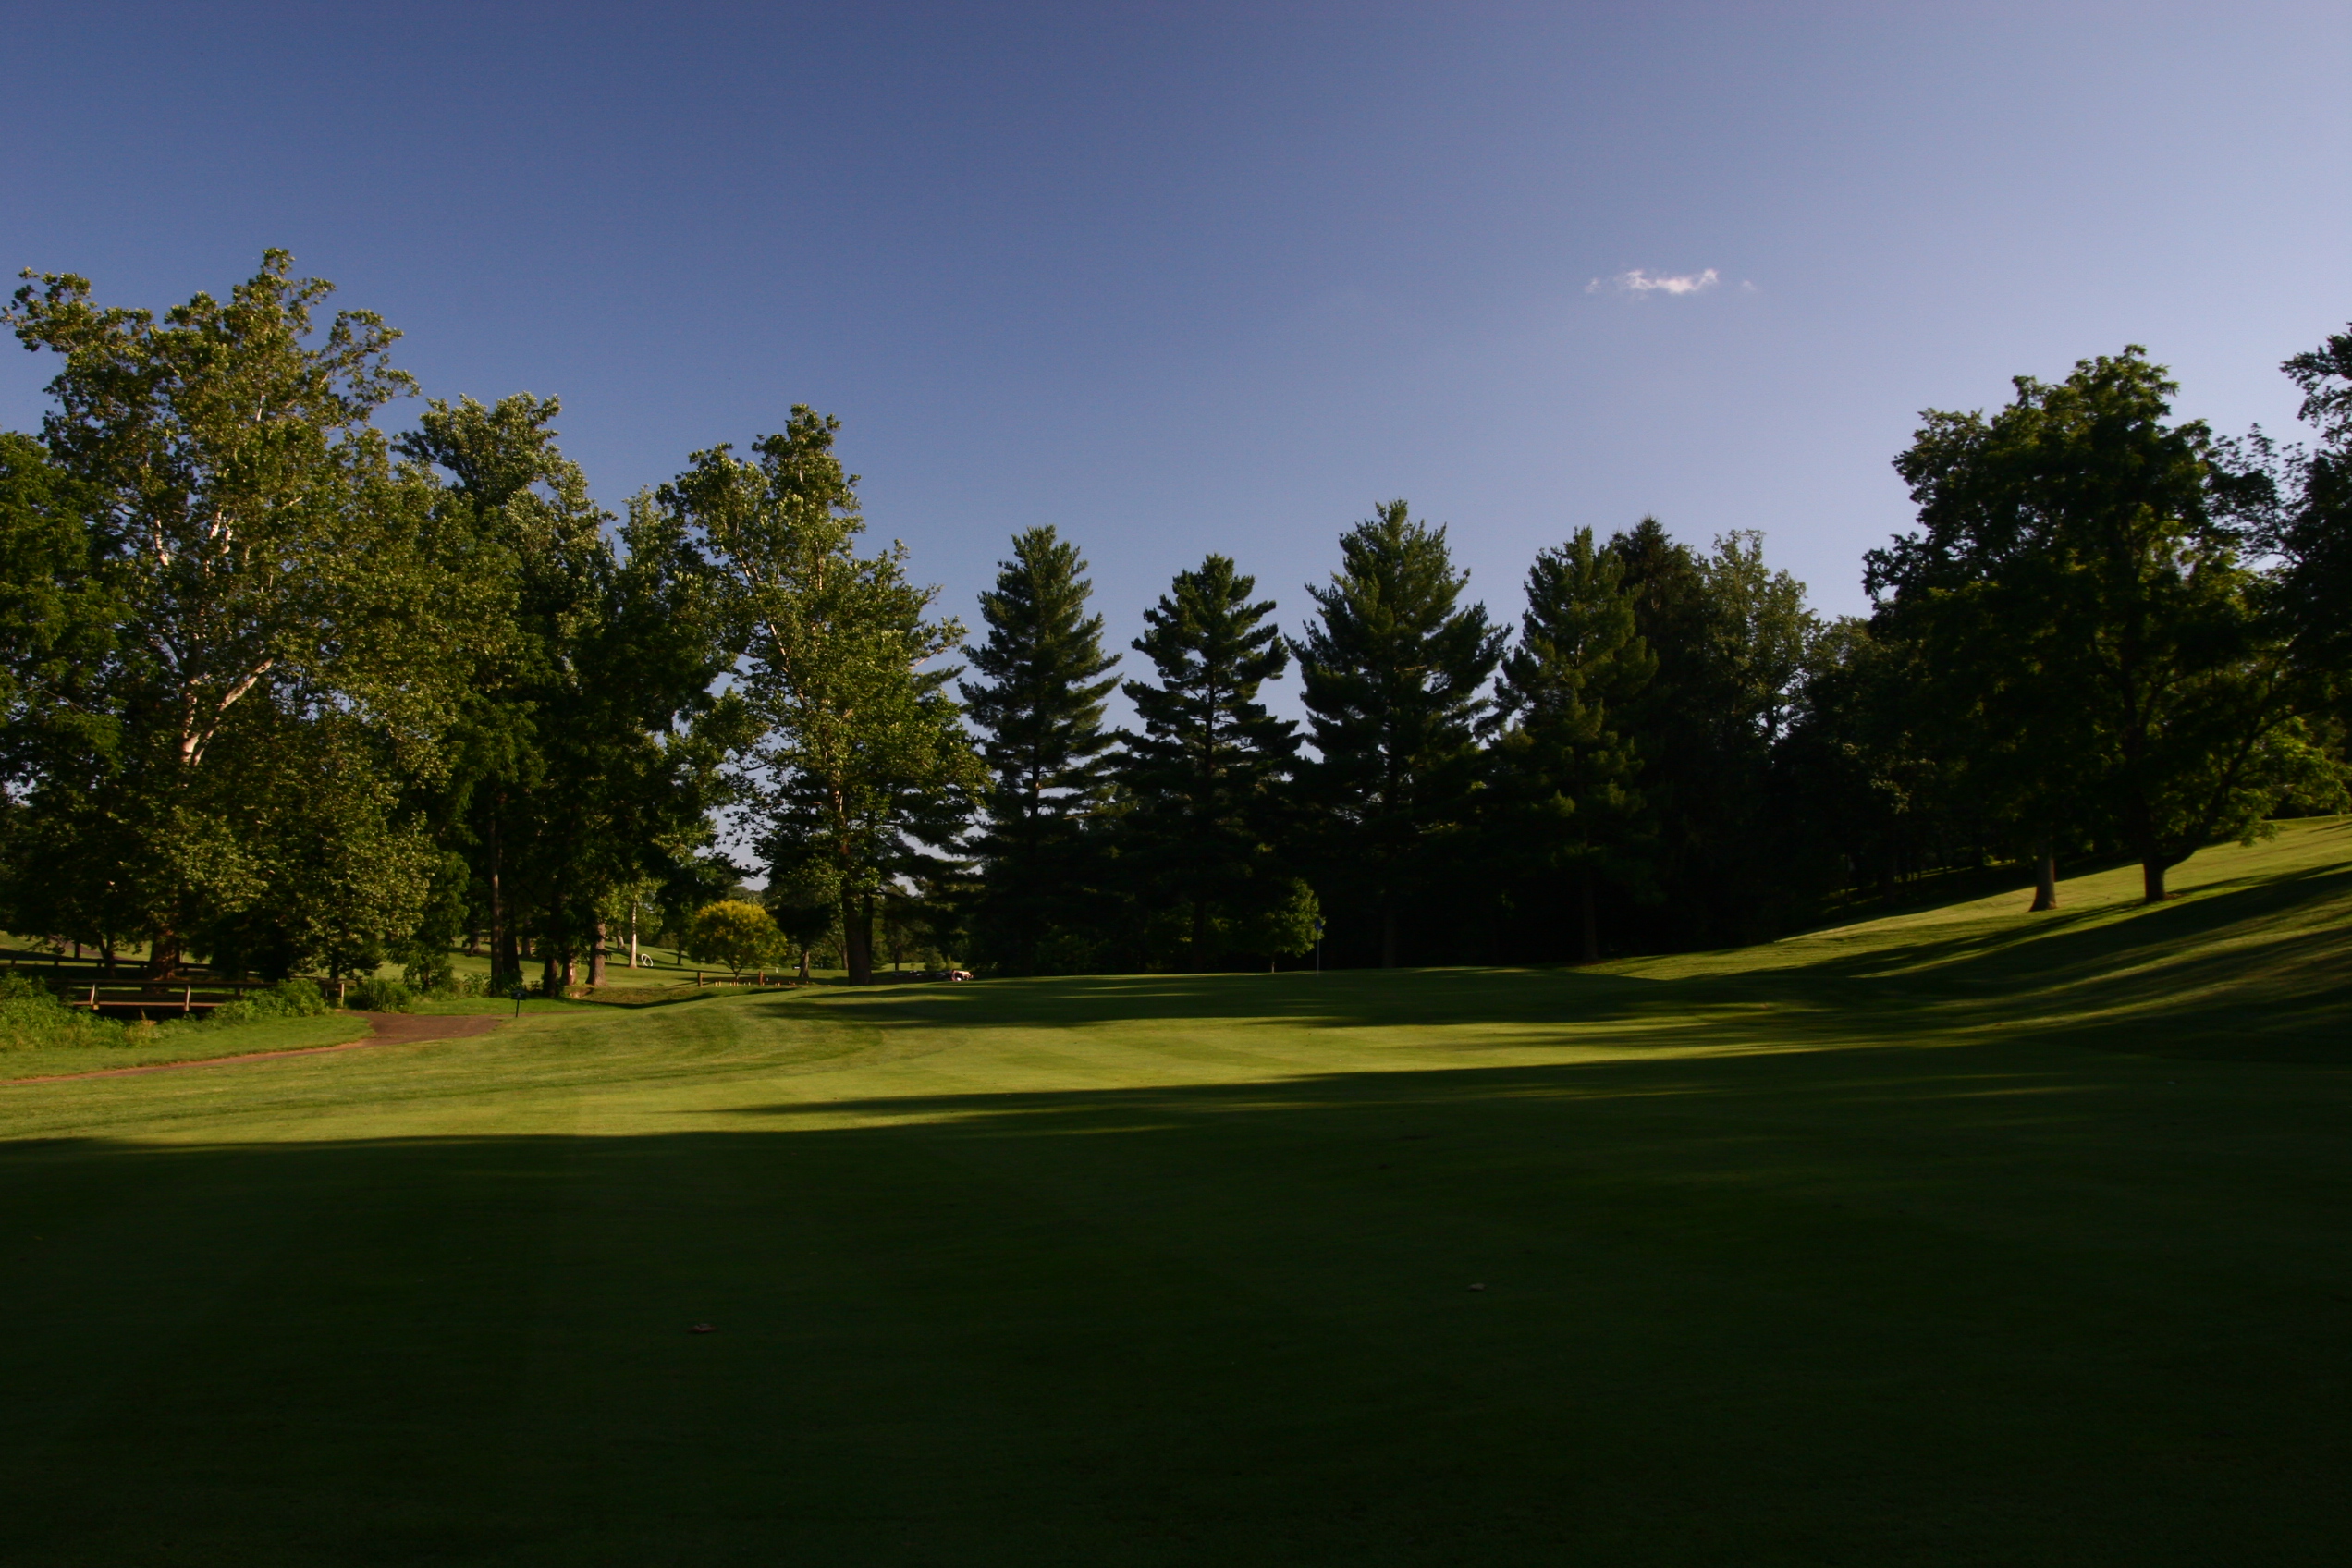
Hole 12
One of the best holes on the course, with a tee box surrounded by trees creating an “Augusta-like” chute, how can’t you love it? Barrow’s Run borders the entire left side of the hole from tee to green and the natural hillside forest borders a majority of the right side. Drives that carry the swale through the fairway are generally considered “go for it” territory. The green has a generous slope from back right to the middle and another from the front left to the middle creating a slight bowl effect. For players electing to make it a three-shot hole, chose your layup distance wisely to allow for the flattest section of fairway. Take your chance now as you will need the positive momentum going into the next three holes!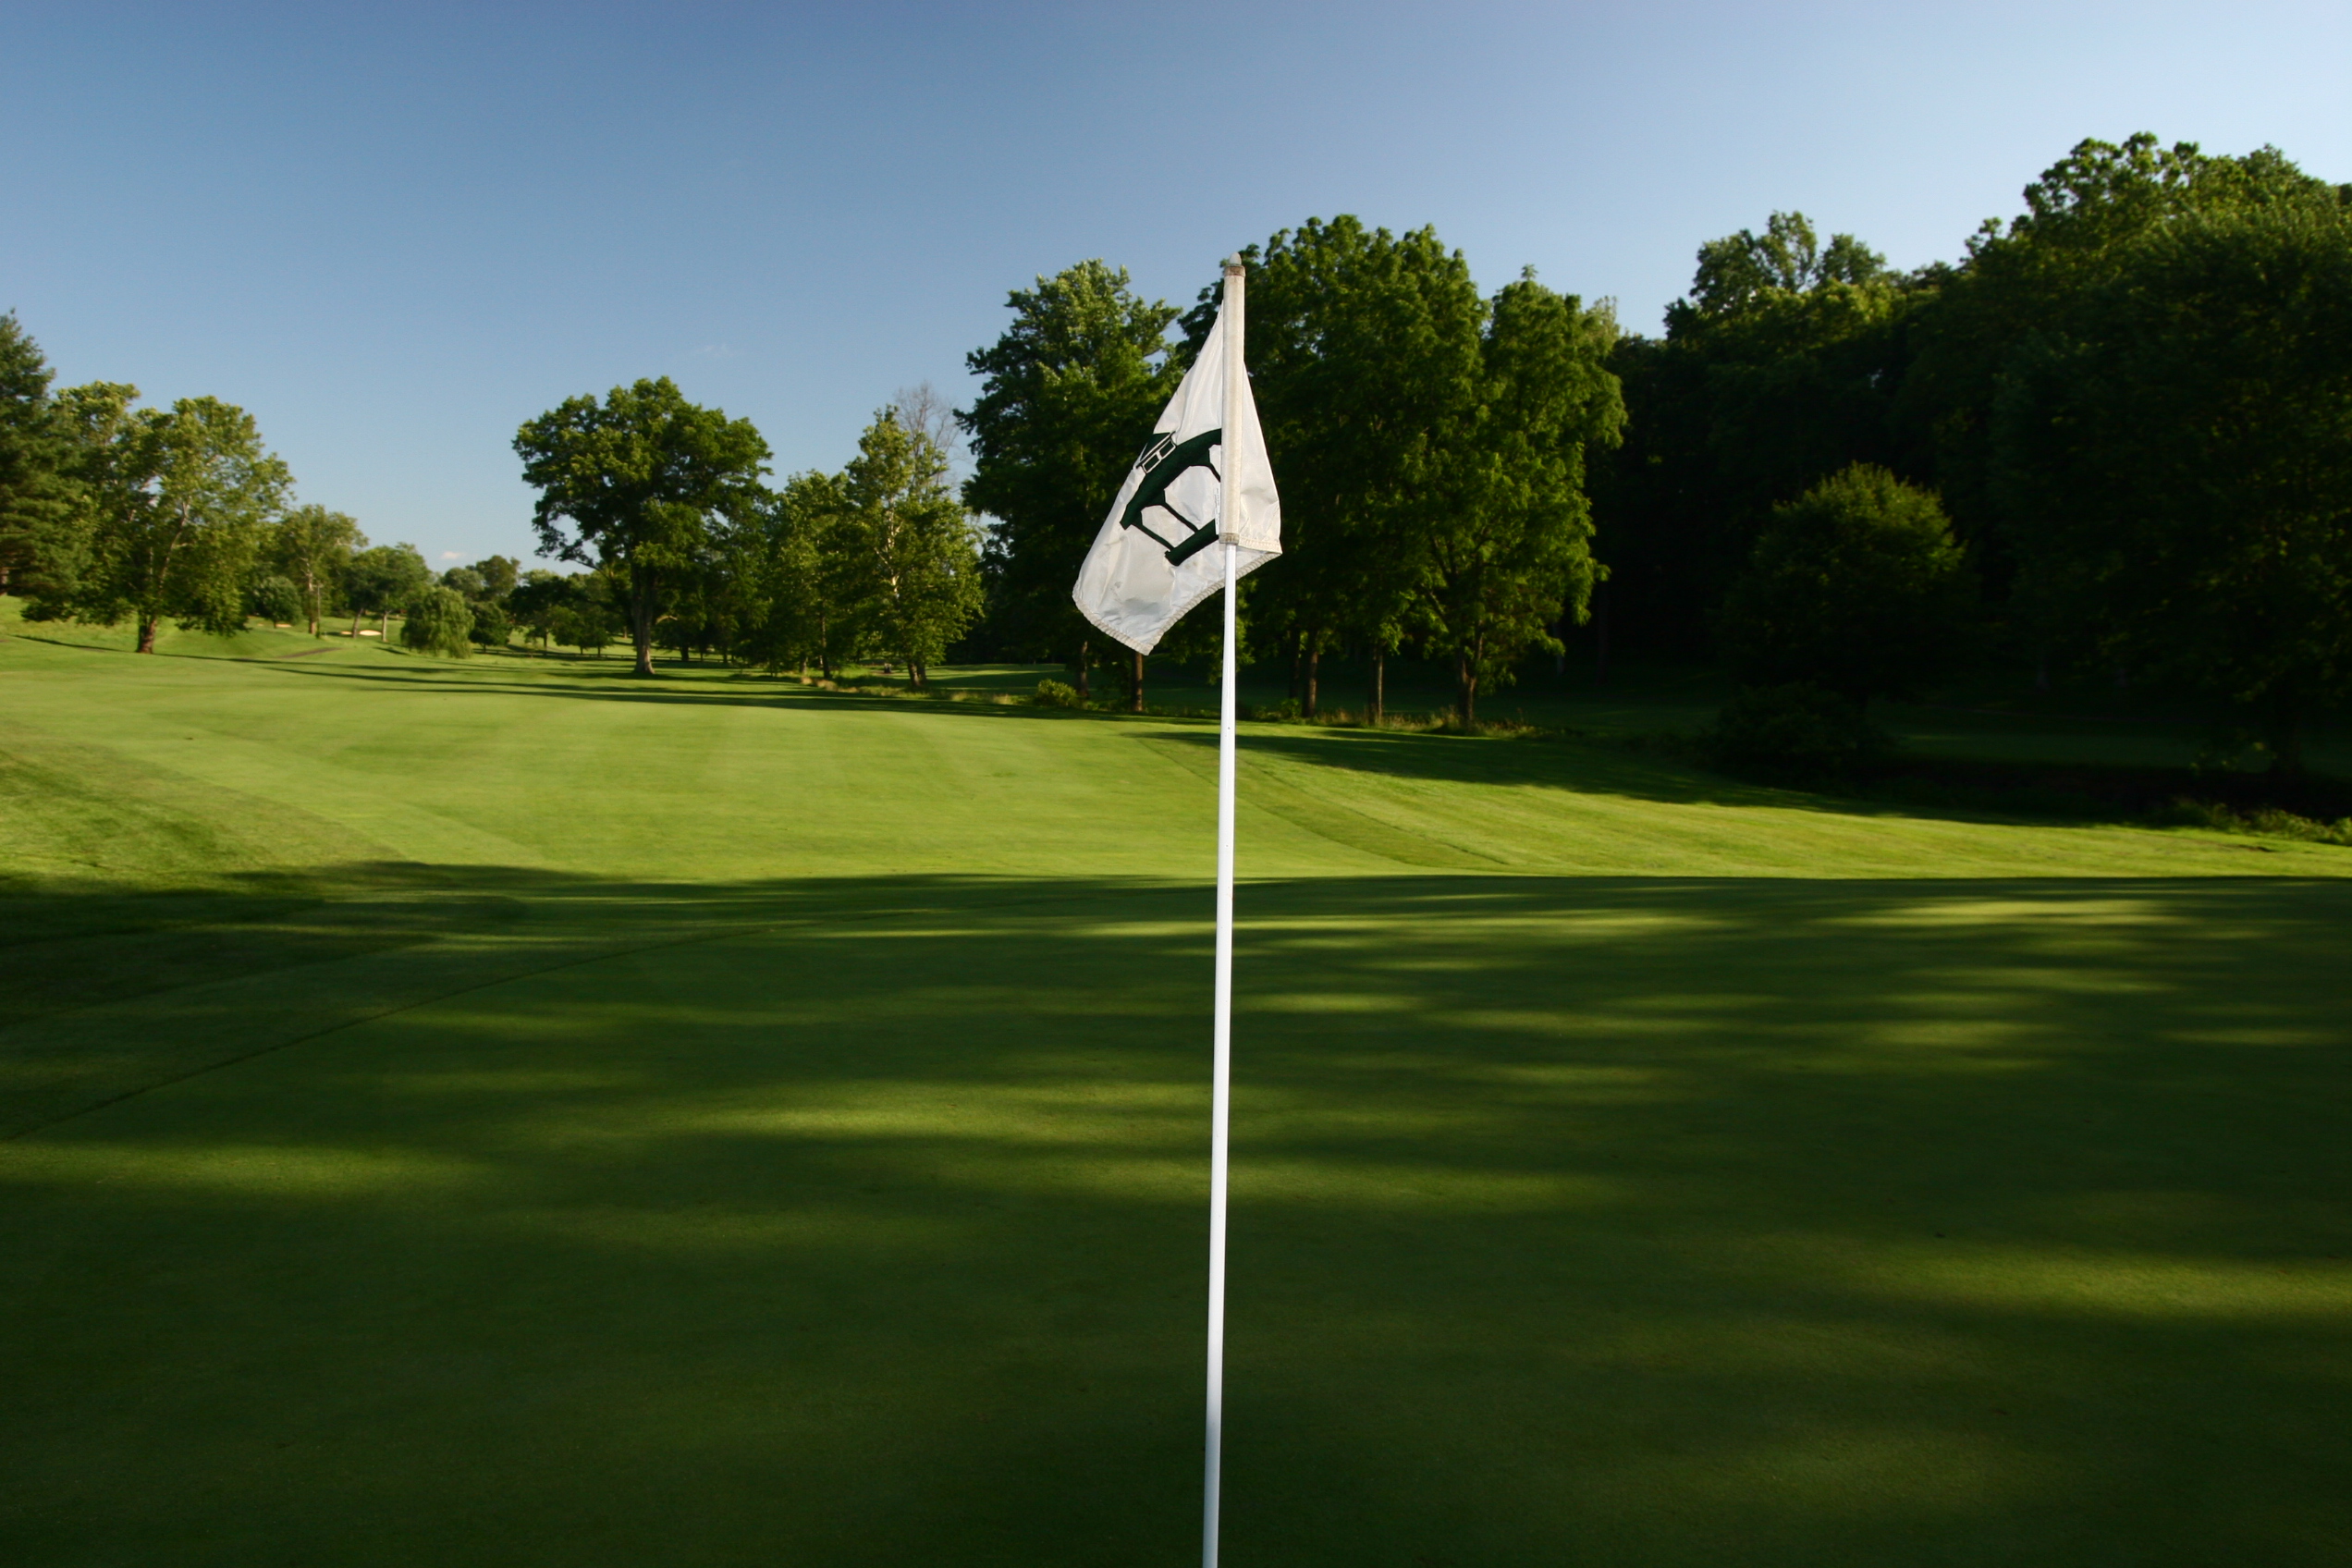
Hole 13
After getting through a fun par 5, you are now going into the heart of the front nine with three great tests in front of you. Starting with Hole 4, one of the longest par 4’s on the course with a demand for both distance and accuracy, this hole has it all except for a bunker! The “field goal” style tree’s that sit along the right and left side of the fairway about 230 yards from the green are perfect aiming lines to frame your tee shot. The preferred shot shape is a right to left falling drive that carries the swale running through the fairway. Tee shots that carry the swale have a major advantage over those falling short. Barrows Run once again borders the length of the fairway on the left and a large grass bunker sits front right of the green. This green is one of the larger on the course with a slight pitch from back to front and towards the Run. A par here is a great score.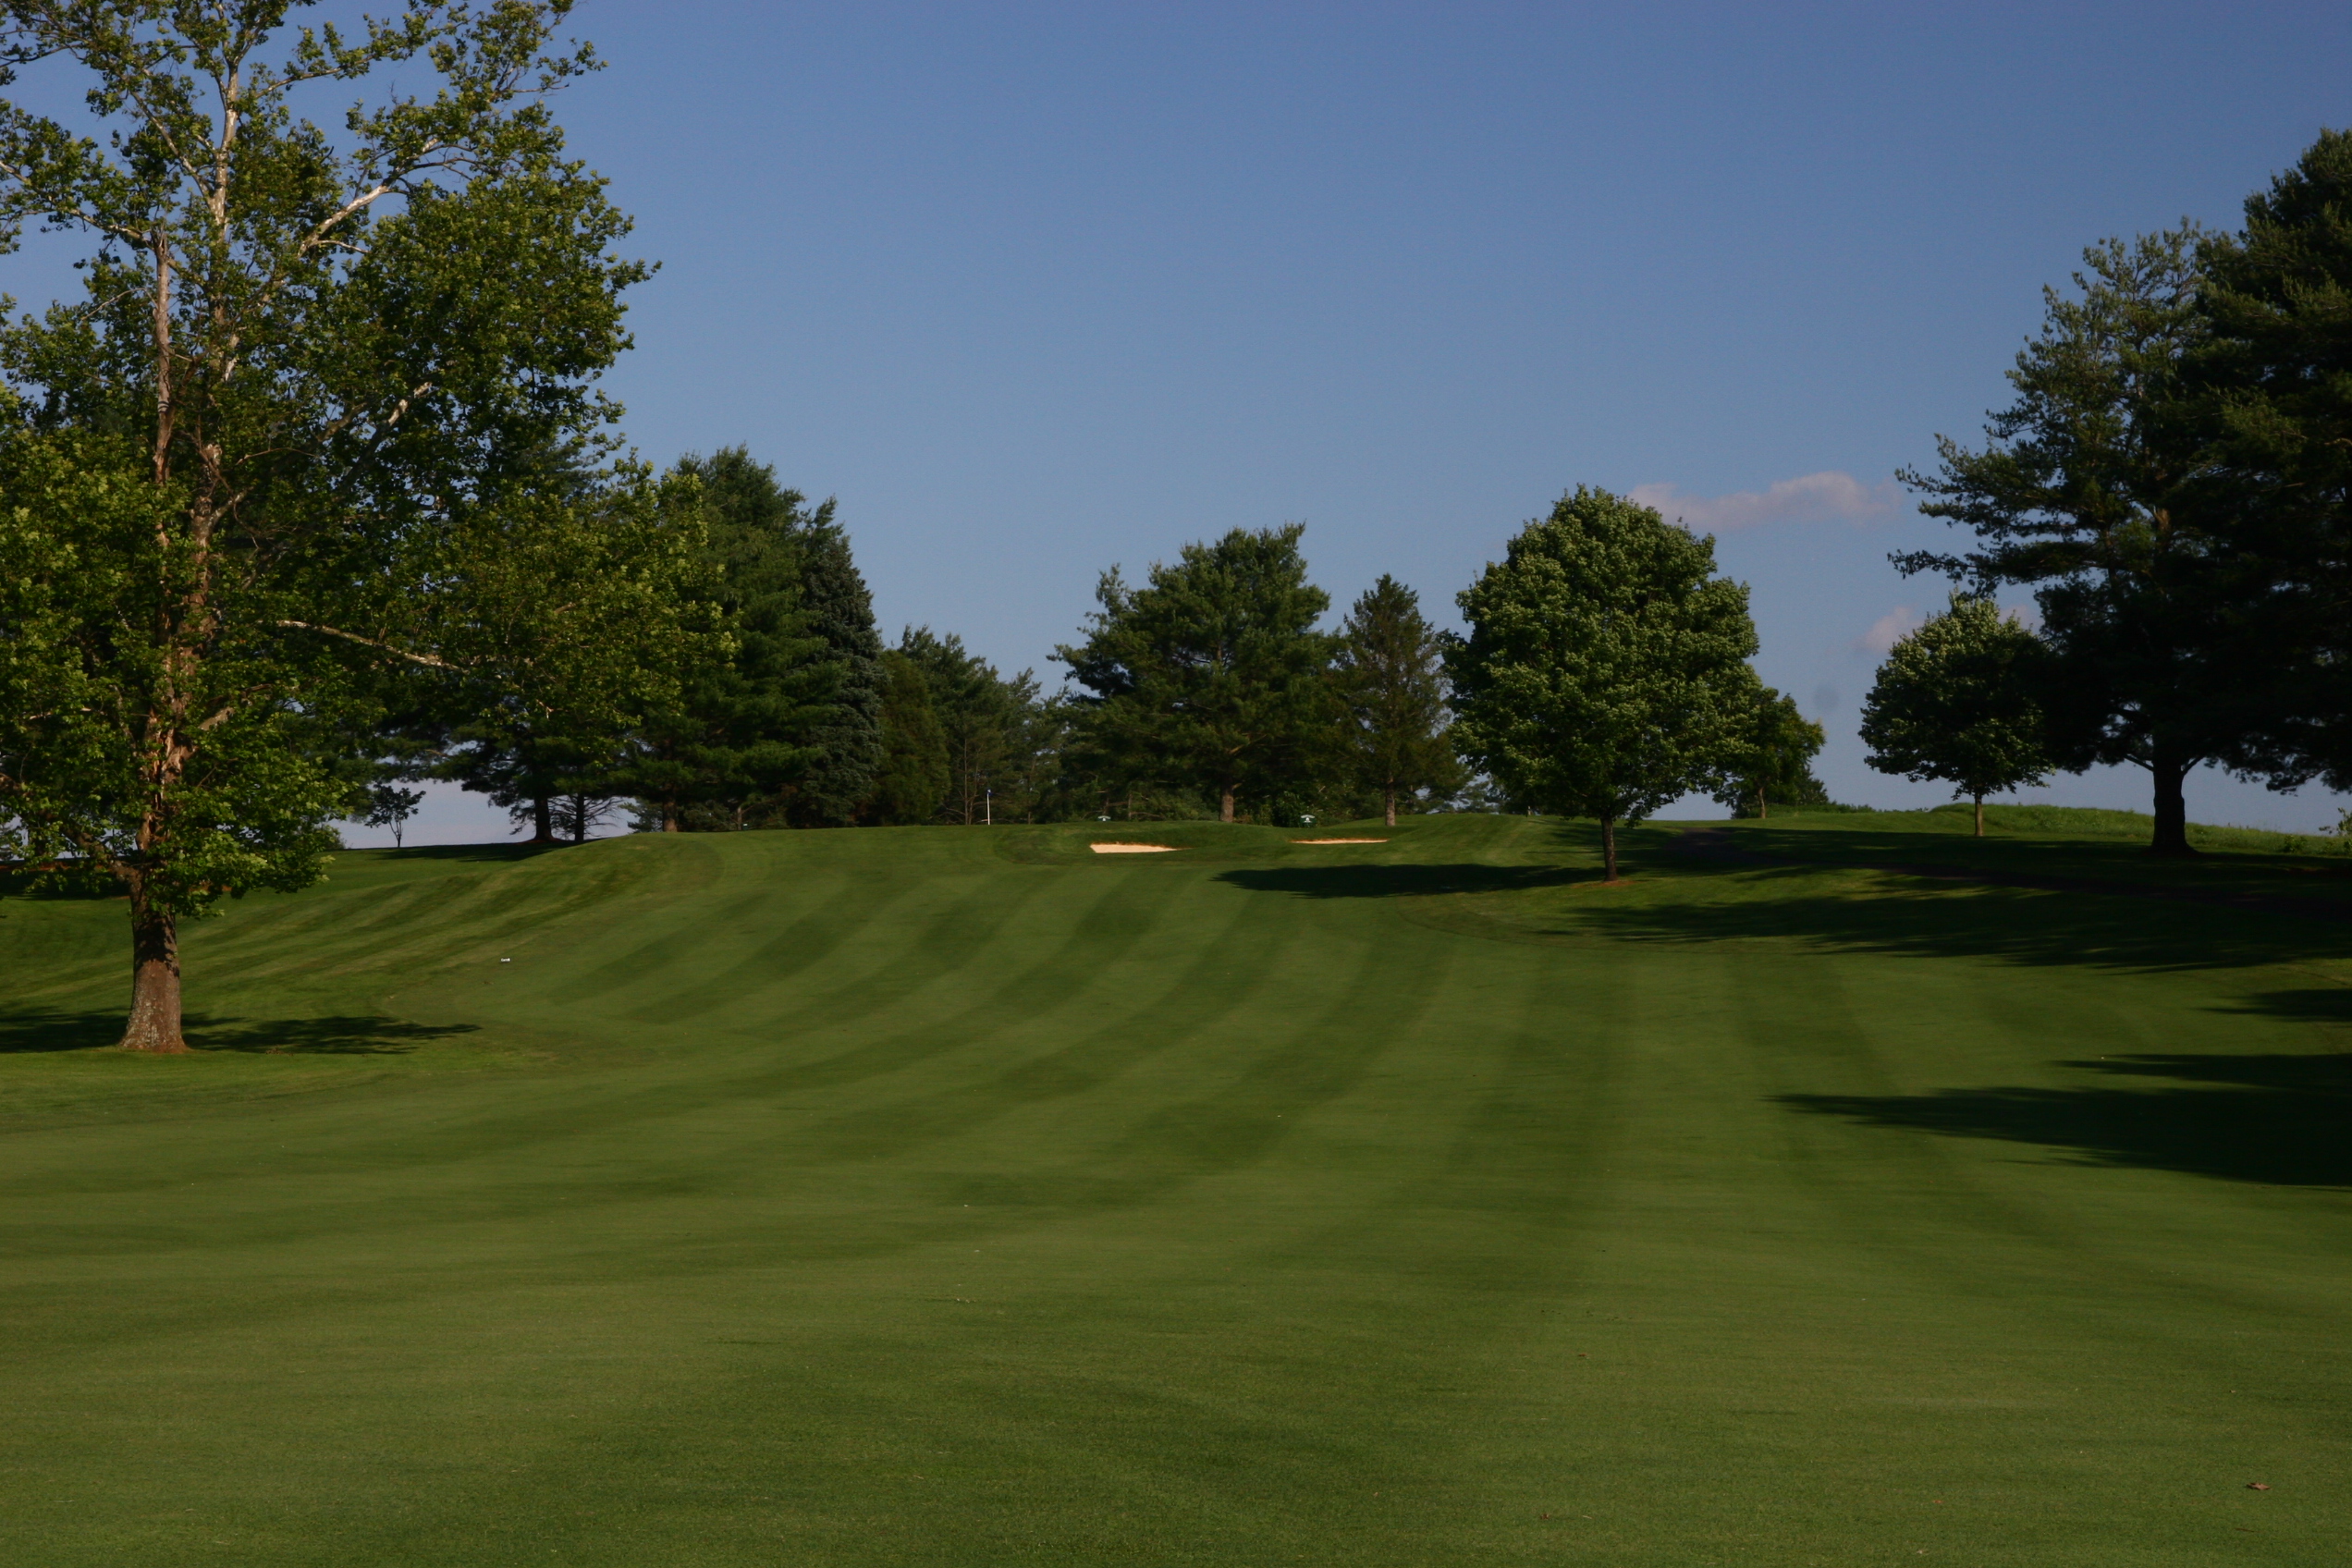
Hole 14
Short in length, big on difficulty. The 5th features an uphill sloping fairway with a small green sitting atop a well bunkered right side. Players can choose to take as much as they want off the tee but know that the closer you get to the green, the more severe the slope. Most players learn that less off the tee to a flatter lie in the fairway is the safest way to take advantage of this hole. Wind plays a factor from the fairway as the crosswinds come into full force in this low area of the course. A small green with gentle contours provides a true test while on the green. Many players leave this short par 4 shaking their heads, play it smart and you have a chance to gain a shot.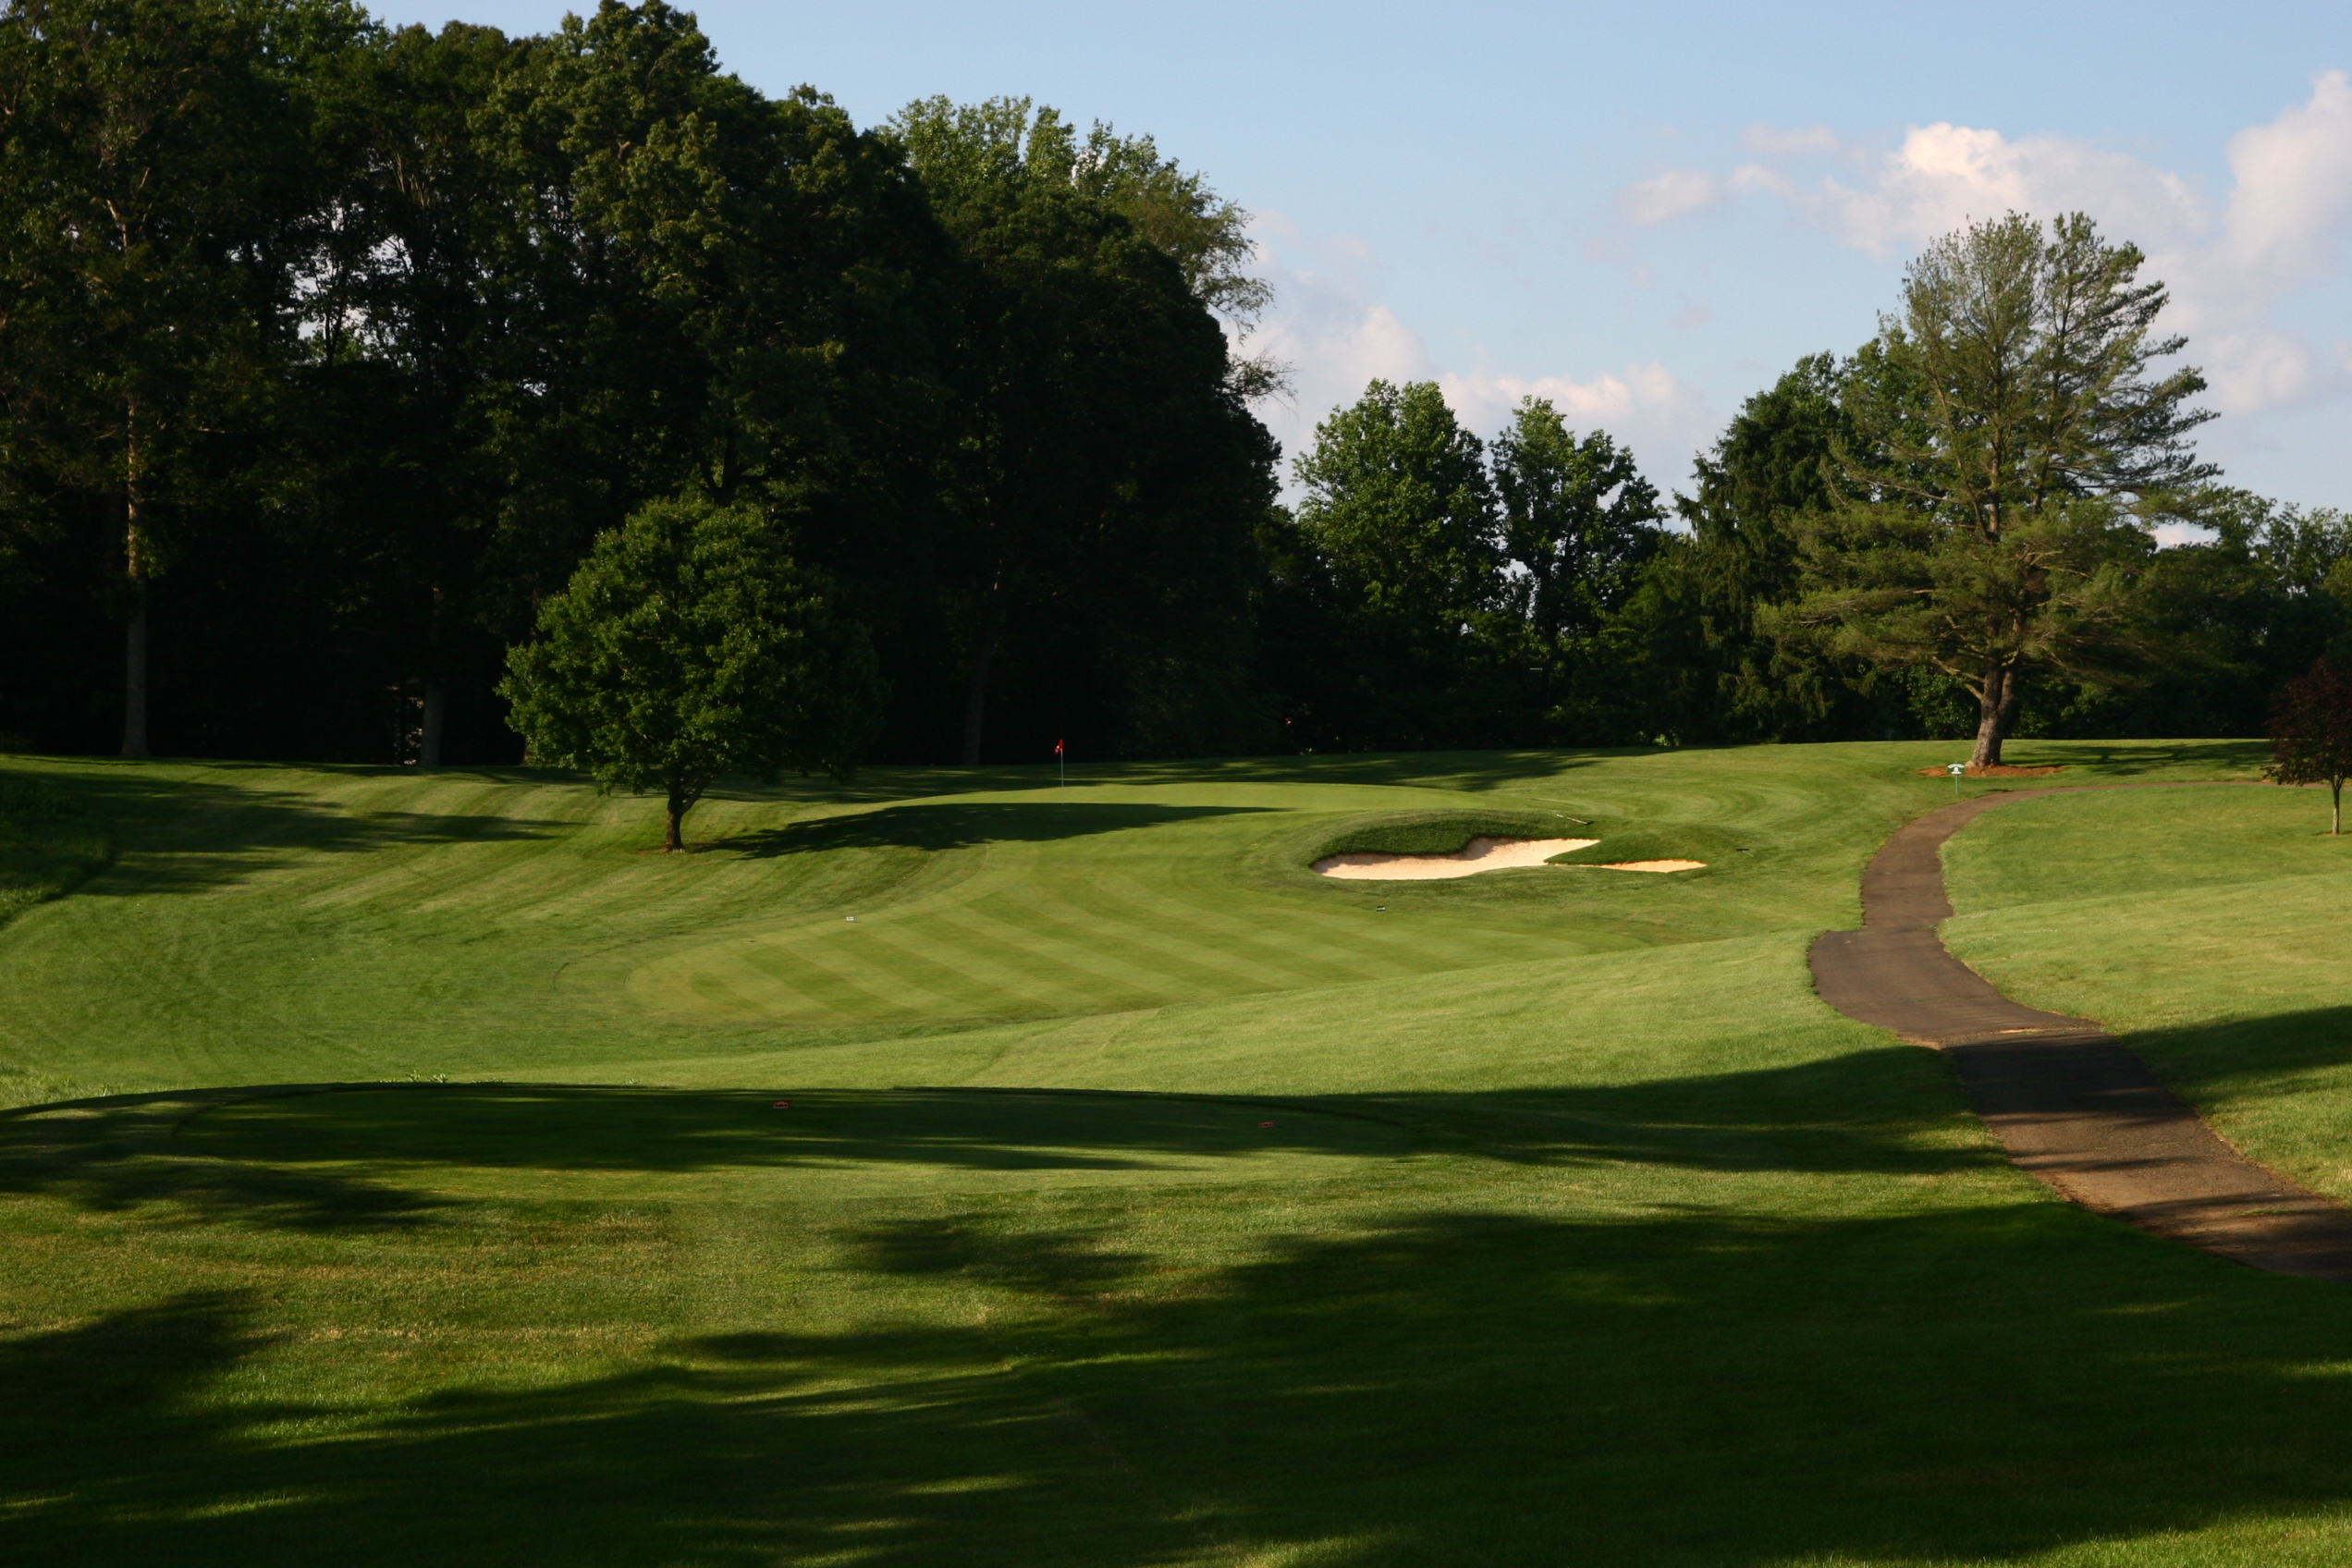
Hole 15
The last of the par 3’s on the course and this one is a strong one! The downhill tee shot makes club selection vital for players trying to hit this smaller sized green with a long iron. A large tree left and a bunker short right of the green make the green appear even smaller. If you are unsure, best bet is to play short left to play to your wedges.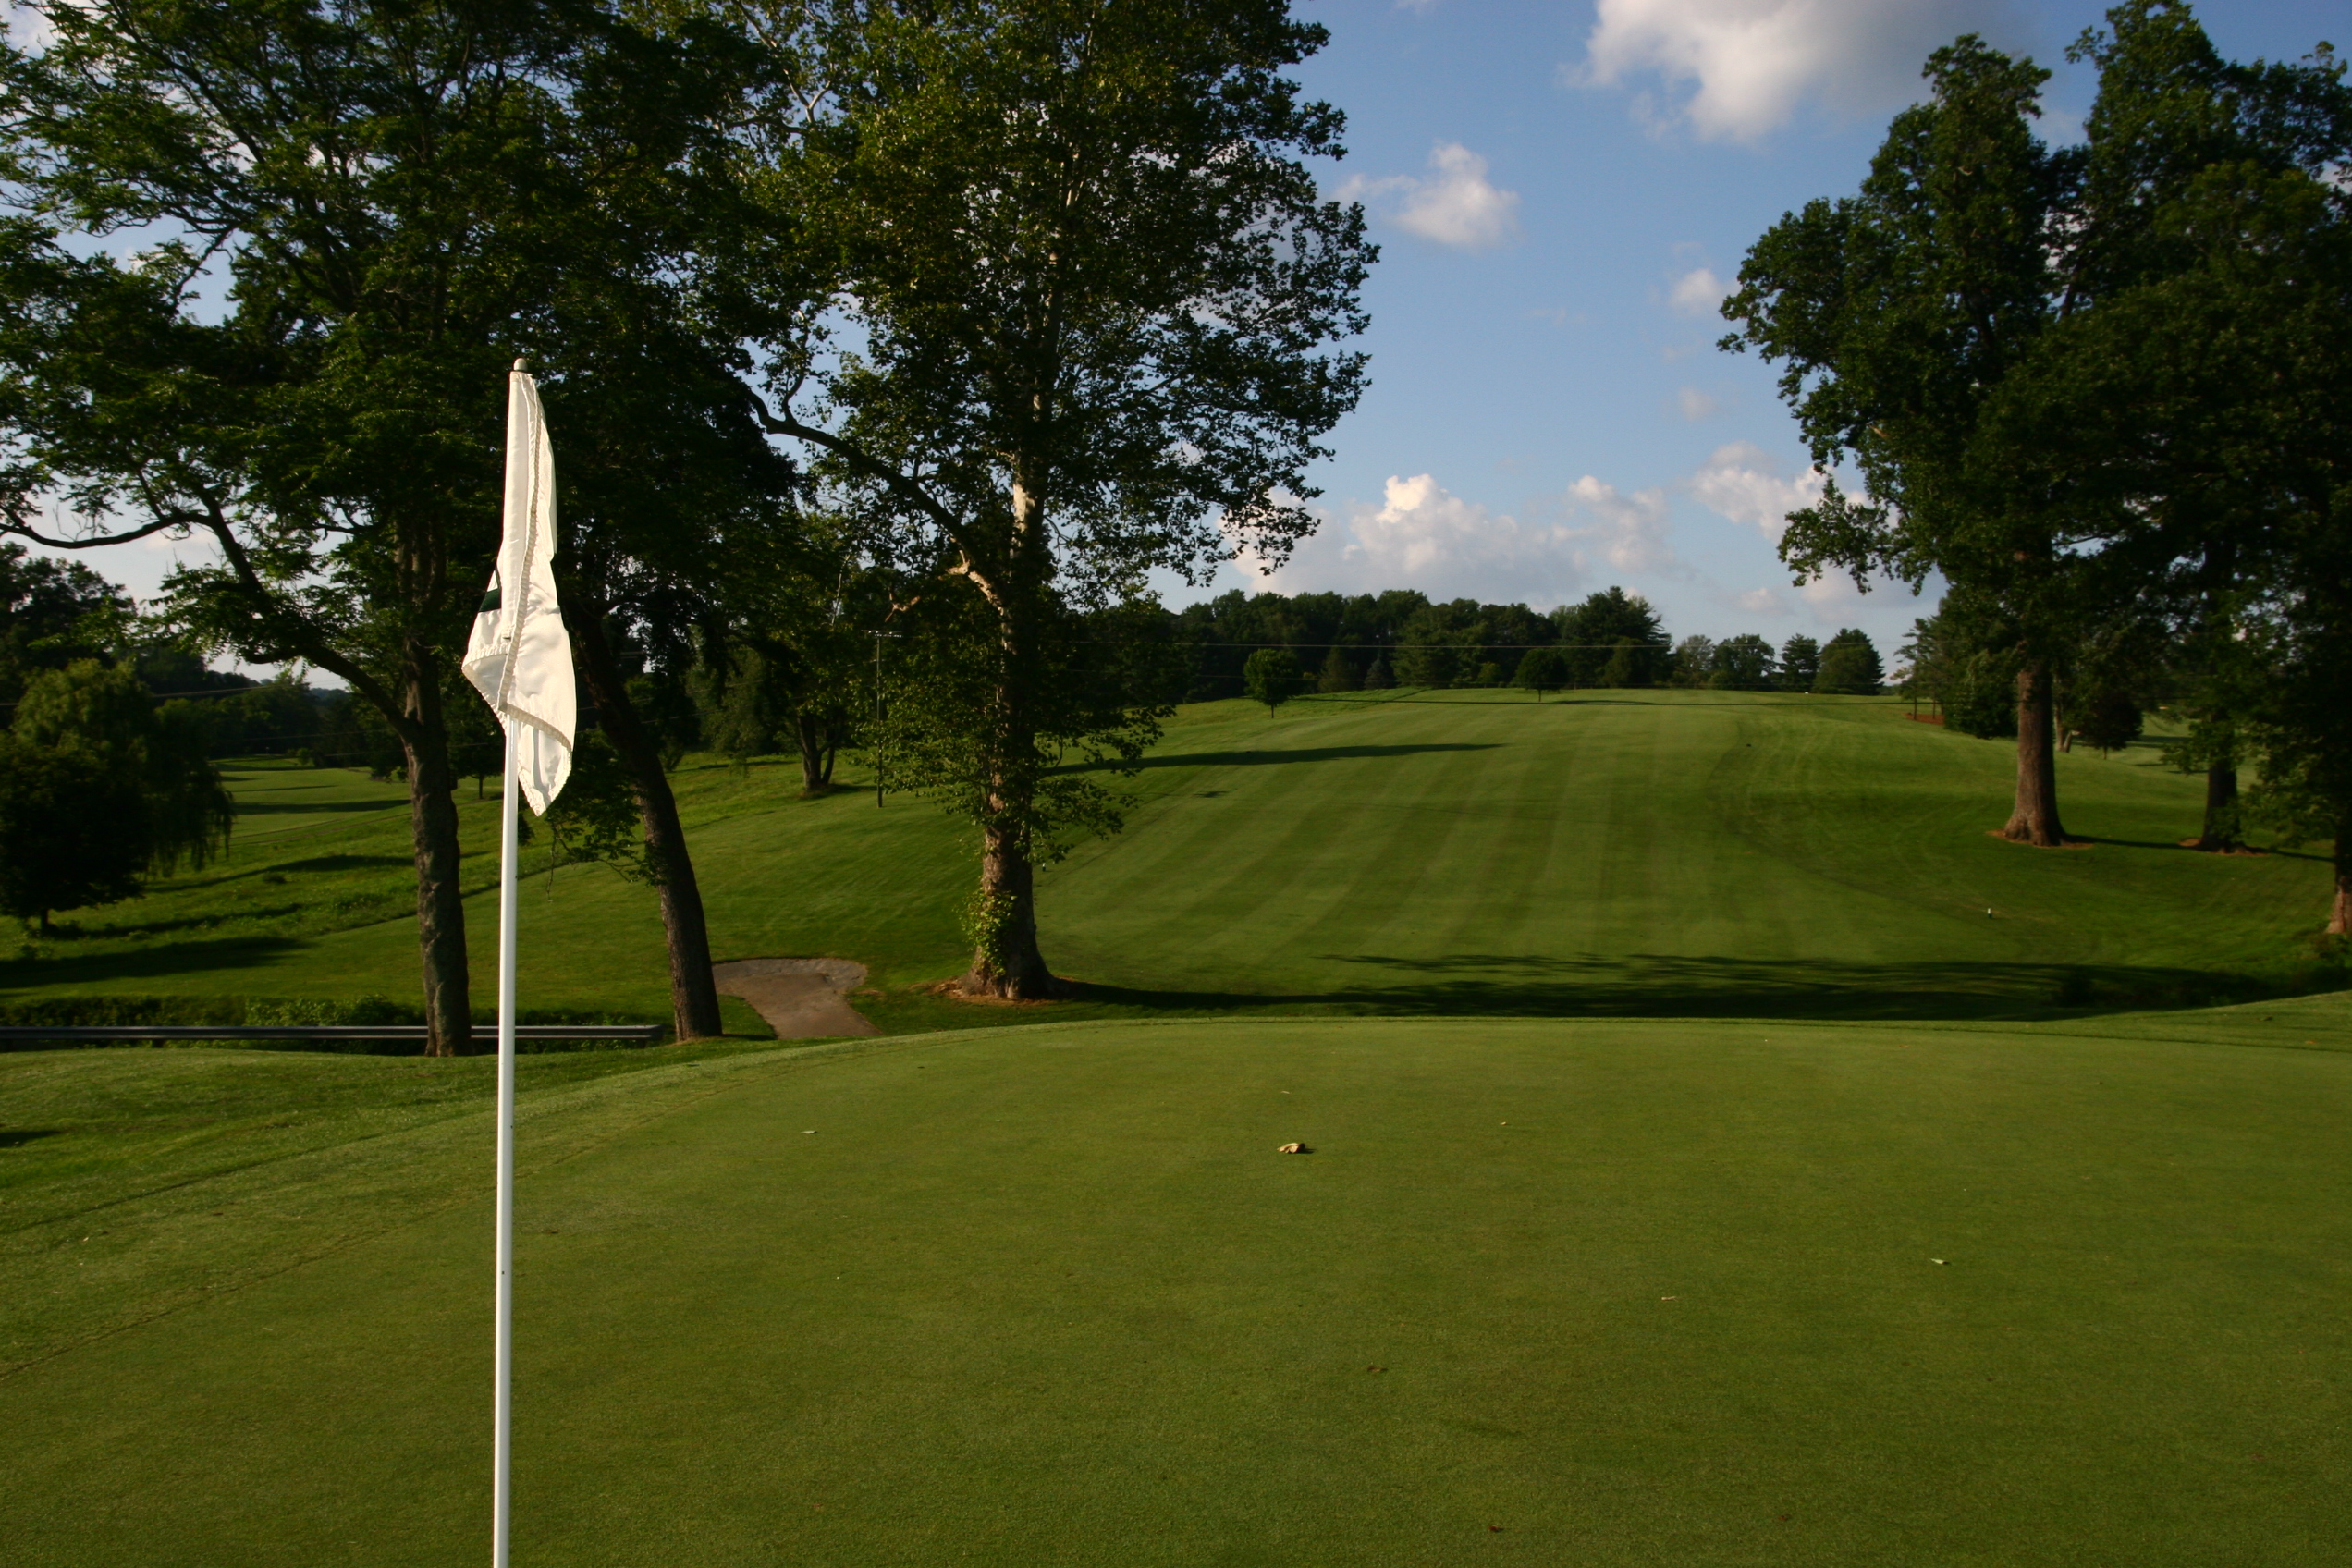
Hole 16
Standing on the 7th tee means you’re almost to the back nine, time to get back a few shots if you play it right. This par 5 gives players a chance to bust a drive longer than usual if they hit the right side of the fairway. The entire hole sits high on the property and slopes left so shots that hit the wrong side of the fairway must play it as a three shot hole. If you are able to find the fairway with your drive, two large willows frame your approach shot into the long but narrow green. If you are forced to lay up, be sure to carry the ball far enough to get to the flat area. From here you are playing to an elevated green which is very receptive to high shots.
Hole 17
Don’t need much off the tee here to get into a great position for birdie. One of the larger, flatter greens awaits, time to take advantage. Players can chose almost any yardage off the tee as long as their shot has a left to right shape, it will find a playable distance to the green. Some of our bigger hitters can shape a driver to land on the putting surface, perfect time to make up some strokes!